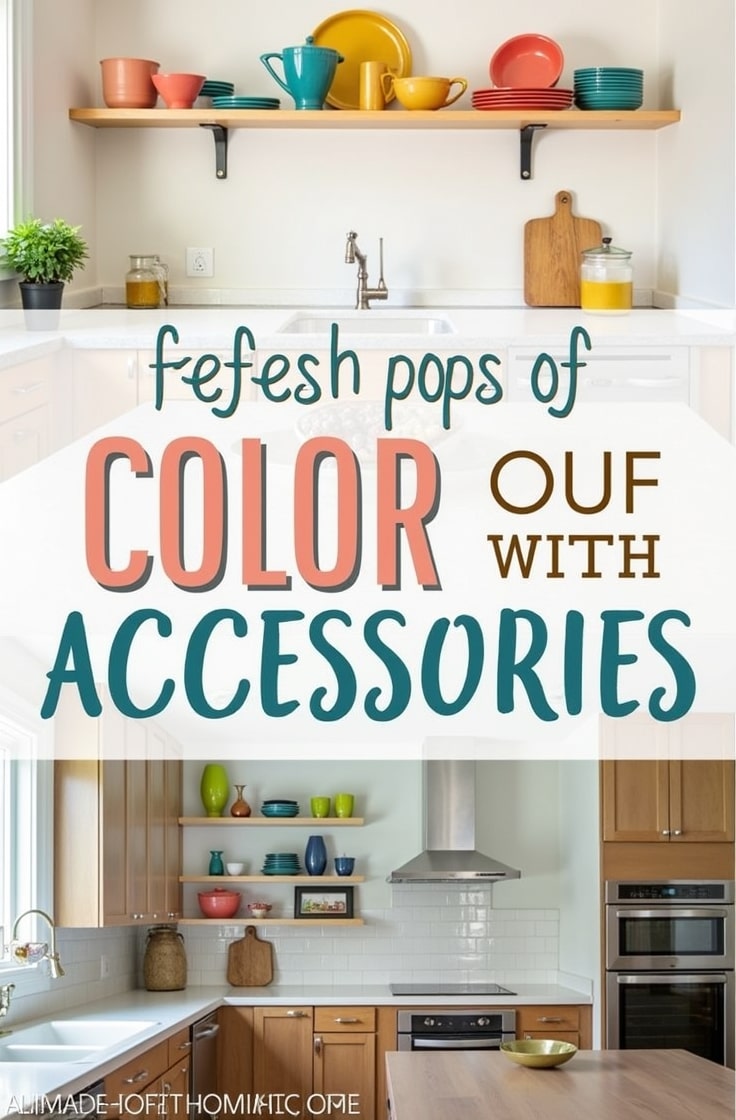
7 Kitchen Wall Shelves Ideas That Actually Work (Even If You Rent)
My first apartment kitchen had zero counter space. I mean zero. I stood there one night holding a bag of onions with nowhere to put them. My cabinets were packed. My counters were covered. I felt stuck.
That night I found a picture of open wall shelves online. Something clicked. I didn’t need more cabinets. I needed to use my walls.
I’ve since installed shelves in three different kitchens. One I owned. Two I rented. I made mistakes along the way. I also learned what really works.
This guide skips the fluffy inspiration talk. You’ll get seven ideas you can finish this weekend, plus the honest downsides nobody mentions before you buy.
Top 5 Kitchen Wall Shelf Products on Amazon
- BAYKA Floating Wall Shelves (Set of 3, 22 lb capacity) – sturdy rustic wood shelves with a hidden bracket, so you get a clean floating look without visible hardware.
- Fixwal Floating Shelves (Set of 4, MDF with metal brackets) – budget-friendly shelves that hold books, mugs, and jars without sagging over time.
- upsimples Floating Shelves (Set of 6, wood) – great if you want to fill a full wall with small display shelves instead of one big shelf.
- Sorbus Floating Shelves with Invisible Brackets (3-Pack) – a simple, modern option that works well in tight kitchen corners.
- Mefirt Over-the-Door Pantry Organizer – a no-drill option with adhesive stickers and hooks, perfect if you can’t put holes in the wall at all.

Turn One Empty Wall Into Your Main Storage Spot
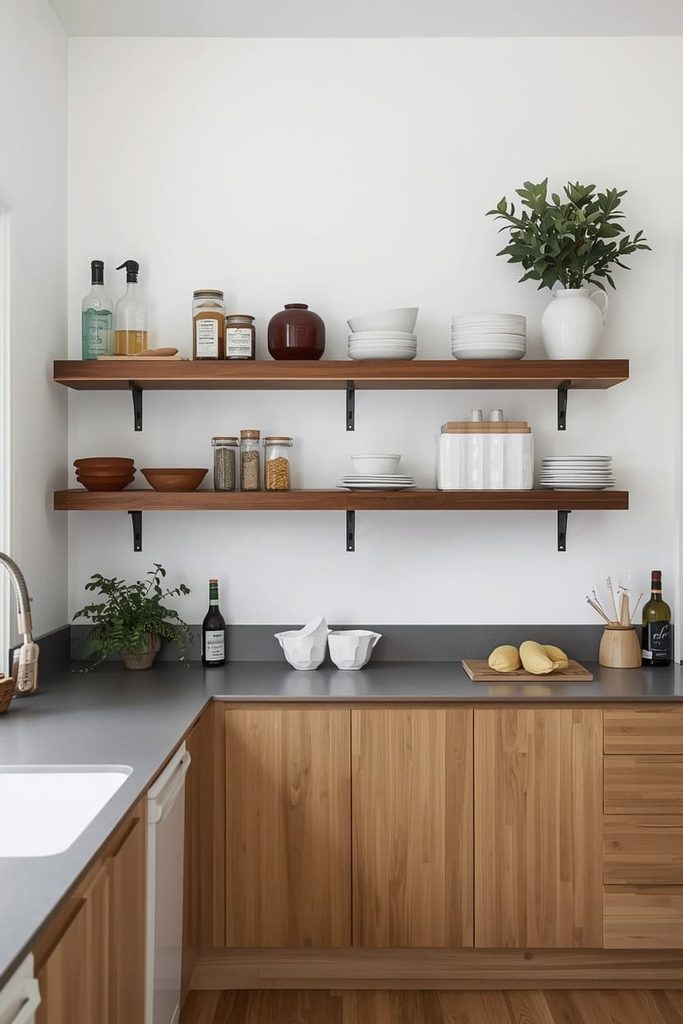
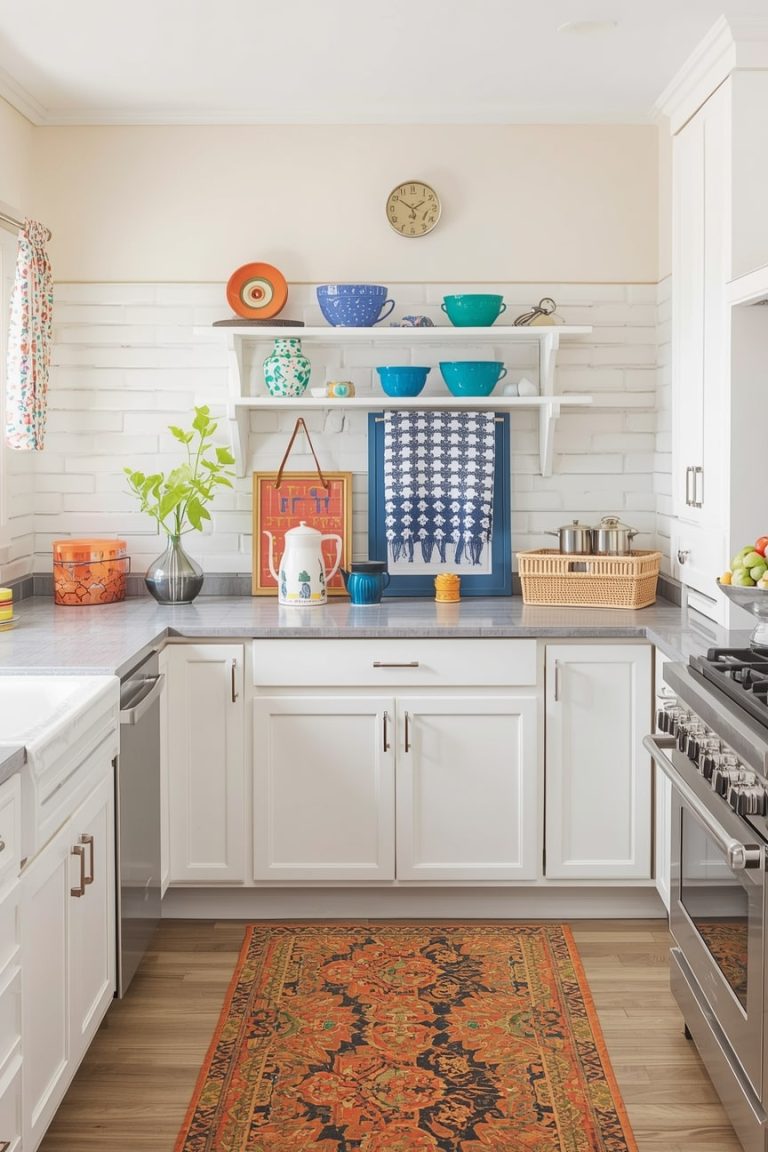
Pick one blank wall and install two or three long floating shelves stacked above each other. This alone can replace an entire missing cabinet.
Here’s the thing. Most kitchens waste wall space above counters, near doorways, or beside windows. You’re probably staring at one right now. Measure that wall first. Then buy shelves that are at least 24 inches long, since anything shorter won’t hold much.
Space your shelves 10 to 12 inches apart. This gives you enough room for plates, bowls, or small appliances. Mount the bottom shelf at a height where you can reach it without a step stool. Save the top shelf for things you use less often, like seasonal dishes.
I did this in my second apartment. Three shelves. One wall. It replaced the cabinet I never had.
Before you buy, sketch the wall on paper. Mark where your outlets are. Mark where a window or doorway cuts in. This tells you the real usable length, not just the wall’s total width. A lot of people skip this step and end up with a shelf that’s too long for the space.
Pick shelves with a depth of at least 8 inches if you plan to store plates or bowls. Anything shallower works fine for spice jars or small jars, but it will feel cramped for dinnerware. Use a stud finder before you drill, even if the shelf comes with anchors. Hitting a stud gives you extra strength for heavier loads.
Shop The Look:
- BAYKA Floating Wall Shelves (Set of 3, 22 lb capacity) – long enough to fill a full wall and strong enough for everyday dishes.
- Fixwal Floating Shelves (Set of 4, MDF with metal brackets) – a budget-friendly way to stagger multiple shelves at different heights.
- upsimples Floating Shelves (Set of 6) – ideal if you want to fill the wall with smaller shelves instead of two or three long ones.
Use Corner Shelves To Grab Space You’re Already Wasting
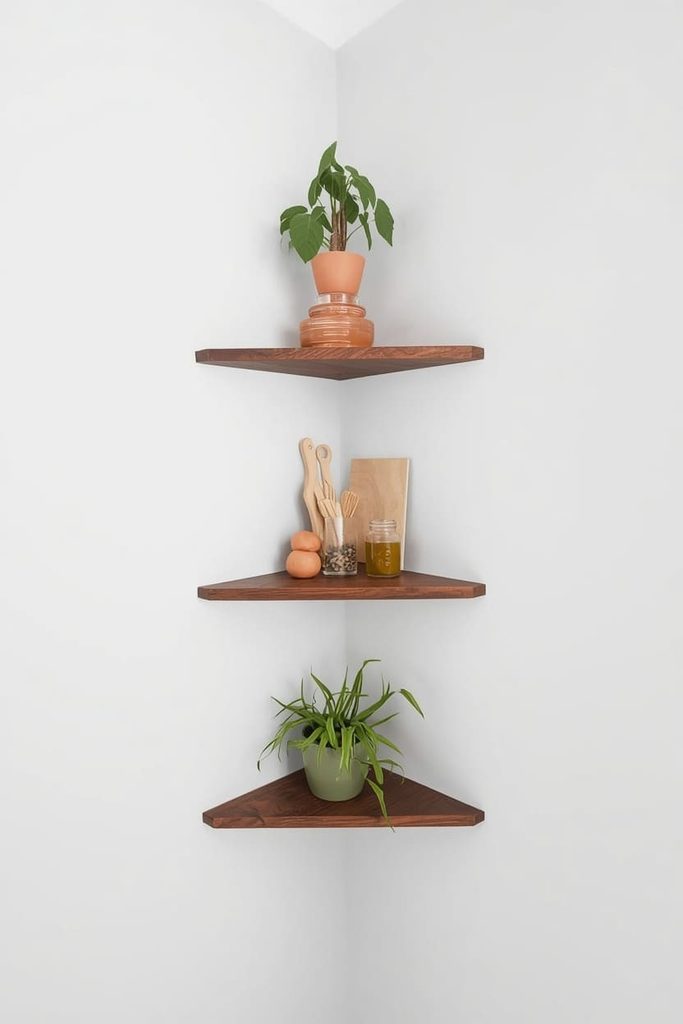
Corner shelves fit into dead space that regular shelves can’t use. You get extra storage without losing an inch of usable wall.
Every kitchen has a corner that does nothing. It’s too awkward for a cabinet and too small for furniture. That’s exactly where a corner shelf belongs.
Look for triangular floating shelves designed for corners. Install two or three of them going up the wall like a small ladder. They work well for spice jars, small plants, or a stack of cookbooks. Because they’re tucked into a corner, they won’t get in your way while you cook.
This idea works best in small kitchens where every wall matters. You’re not adding bulk. You’re using space that was already empty.
Measure the corner before shopping, since corner shelves come in different angle sizes. Most fit a standard 90-degree wall corner, but older homes sometimes have slightly uneven corners. Hold a shelf up to the space before drilling, just to double-check the fit.
Keep the bottom corner shelf light on décor and heavier on function. This is usually the easiest one to reach, so it makes sense for things you grab often, like olive oil or your favorite mug. Save the top shelf, the one you need a small stretch for, for items you touch once a week.
Shop The Look:
- Conamily Corner Floating Shelves (Set of 2, solid oak) – built specifically for 90-degree corners, with a wire hole for hiding cords if needed.
- BATODA Acacia Wood Corner Shelves (Set of 2, hardware included) – rounded edges make this a safer pick for tighter, high-traffic kitchen corners.
- NATURE’S SOURCE Corner Floating Shelves (Set of 3, invisible brackets) – gives you a stacked, “floating” corner display without visible mounting hardware.
Try Adhesive Shelves If You Can’t Drill a Single Hole
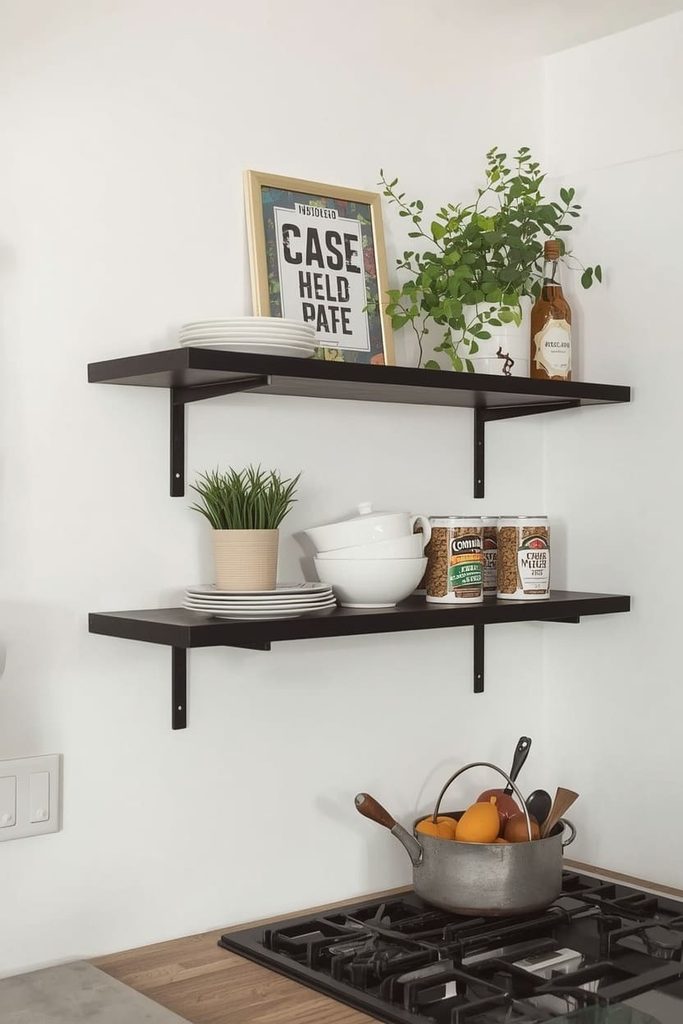
Heavy-duty adhesive shelves stick directly to your wall with strong mounting strips. No drill. No landlord drama. No damage deposit lost.
This is the one renters ask about most. You want shelves, but your lease says no holes. I get it. I lived under that same rule for two years.
Look for shelves rated for at least 10 pounds that use command-strip style adhesive. Clean your wall first with rubbing alcohol so the strips actually stick. Wait 24 hours before adding anything heavy. This lets the adhesive fully bond.
Keep items light. Think dish towels, small plants, or a few mugs. Skip the heavy stoneware. These shelves are strong, but they’re not built for your entire dinnerware set.
When you move out, the strips peel off clean. No patching. No paint touch-ups. No stress.
Test the wall surface before committing. Adhesive strips work best on smooth painted drywall. They struggle on textured walls, wallpaper, or brick. If your kitchen has textured walls, try a small test strip in a hidden spot first. Let it sit for a full day before trusting it with a shelf.
Avoid placing adhesive shelves near your stove or sink. Heat and steam weaken the bond over time, even on strong adhesive brands. Stick to drier areas of your kitchen, like above a counter that’s away from the cooktop.
Shop The Look:
- Command Metal Wall Shelf (with large adhesive strips) – a trusted, damage-free brand that peels off clean when you move out.
- TQZDBXK Acrylic Floating Shelves (4-Pack, renter-friendly) – lightweight and clear, so it blends into any kitchen style without visual clutter.
- Mefirt Over-the-Door Pantry Organizer – a no-drill, no-adhesive backup if your walls aren’t smooth enough for strips.
Build A Coffee Station Shelf To Clear Your Counter
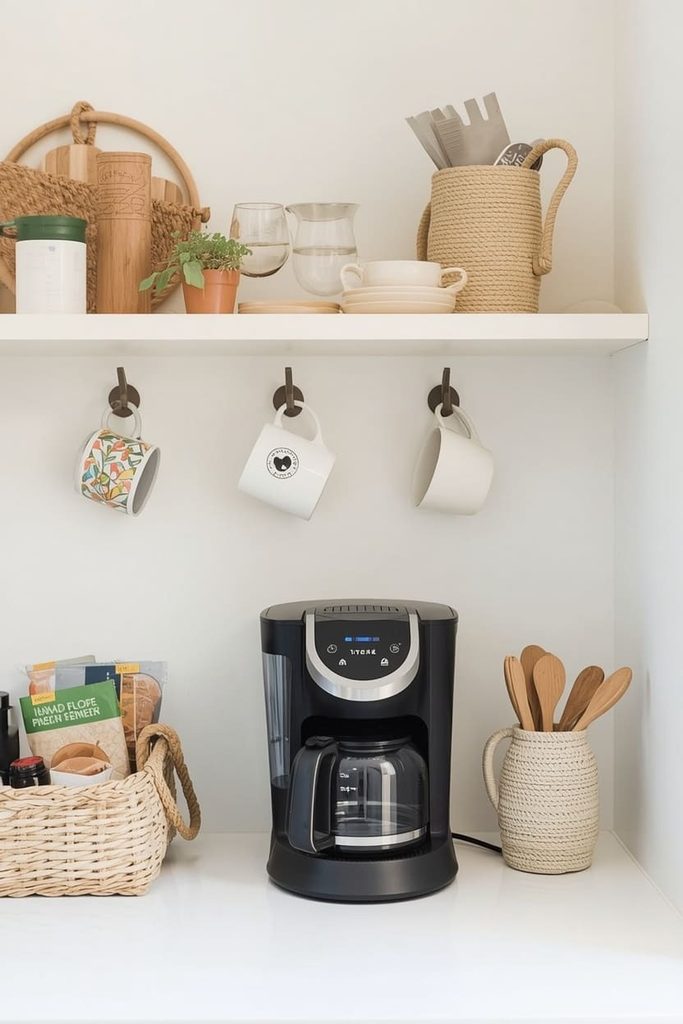
One dedicated shelf above your coffee maker keeps mugs, filters, and syrups off your counter and within easy reach.
Coffee stuff takes over counters fast. Mugs pile up. Bags of beans sit out. Filters end up shoved in a drawer somewhere. A single shelf fixes this in one shot.
Install a floating shelf about 14 to 16 inches above your coffee maker. Add hooks underneath for hanging mugs. This frees up shelf space for filters, syrups, or your favorite mug collection. If your kitchen is small, this project alone can make your counter feel twice as big.
I built one of these last year. My counter cleared up overnight. My coffee maker finally had breathing room.
Pick a shelf that’s slightly wider than your coffee maker itself. This gives you extra room on either side for a small canister or a bag of beans. If you use a French press or pour-over setup, add a small basket on the shelf for filters so they don’t slide around every time you reach for one.
Group items by how often you use them. Daily mugs go on hooks within easy reach. Backup supplies, like extra filters or syrup bottles, go toward the back of the shelf. This keeps your morning routine fast, even before your first sip of coffee.
Shop The Look:
- Sorbus Floating Shelves with Invisible Brackets (3-Pack) – a clean, simple shelf that sits neatly above a coffee maker without visible hardware.
- BAYKA Floating Shelves (Set of 2, 22.5 inches) – enough length to hold your mug collection and beans side by side.
- StorageWorks Woven Baskets (2-Pack) – tuck filters or syrup packets into a basket so the shelf stays tidy.
Add A Ladder Shelf For A No-Drill Statement Piece
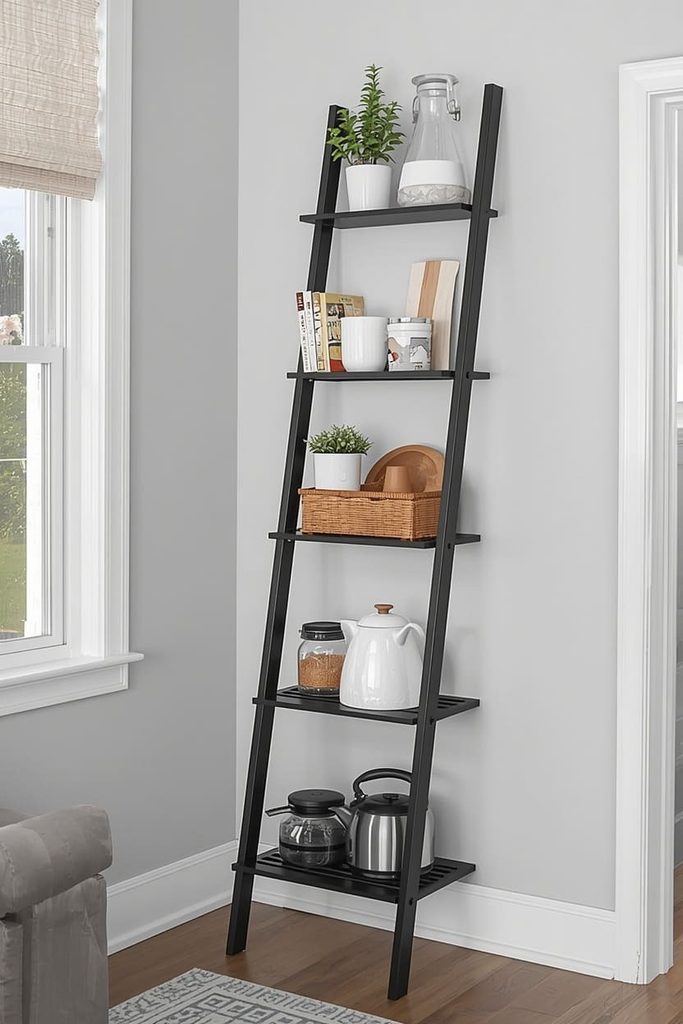
A freestanding ladder shelf leans against your wall and needs zero installation. You get style and storage in one move.
Not every renter wants adhesive strips or brackets. Sometimes you just want something you can carry in, set up, and carry out later. That’s where a ladder shelf comes in.
These shelves lean against the wall like a bookcase, but slimmer. They usually have four or five tiers. Use the lower shelves for heavier items like small appliances. Save the top for plants or décor. Because there’s no mounting involved, you can move it whenever you rearrange your kitchen.
This option works especially well in rentals, dorms, or first apartments where permanence isn’t guaranteed.
Choose a ladder shelf with a wide base for stability, especially if you have kids or pets running through the kitchen. A narrow base can tip more easily when the top shelves are loaded. Look for models with a slight lean-back angle built in, since this helps the whole unit stay steady against the wall.
Because these shelves are freestanding, place them somewhere they won’t block foot traffic. A spot near the end of your counter or beside your fridge usually works better than the middle of a walkway. You’ll thank yourself the first time you’re carrying a hot pan across the kitchen.
Shop The Look:
- VASAGLE 4-Tier Ladder Shelf – a sturdy steel-frame option with a stable wide base, great for small appliances and cookbooks.
- Furologee 5-Tier Ladder Shelf with Drawer – the built-in drawer gives you a spot for kitchen tools you’d rather keep hidden.
- ODK 6-Tier Ladder Shelf – a taller option if you want serious vertical storage without eating up floor space.
Use Tension Rod Shelves For Narrow Gaps
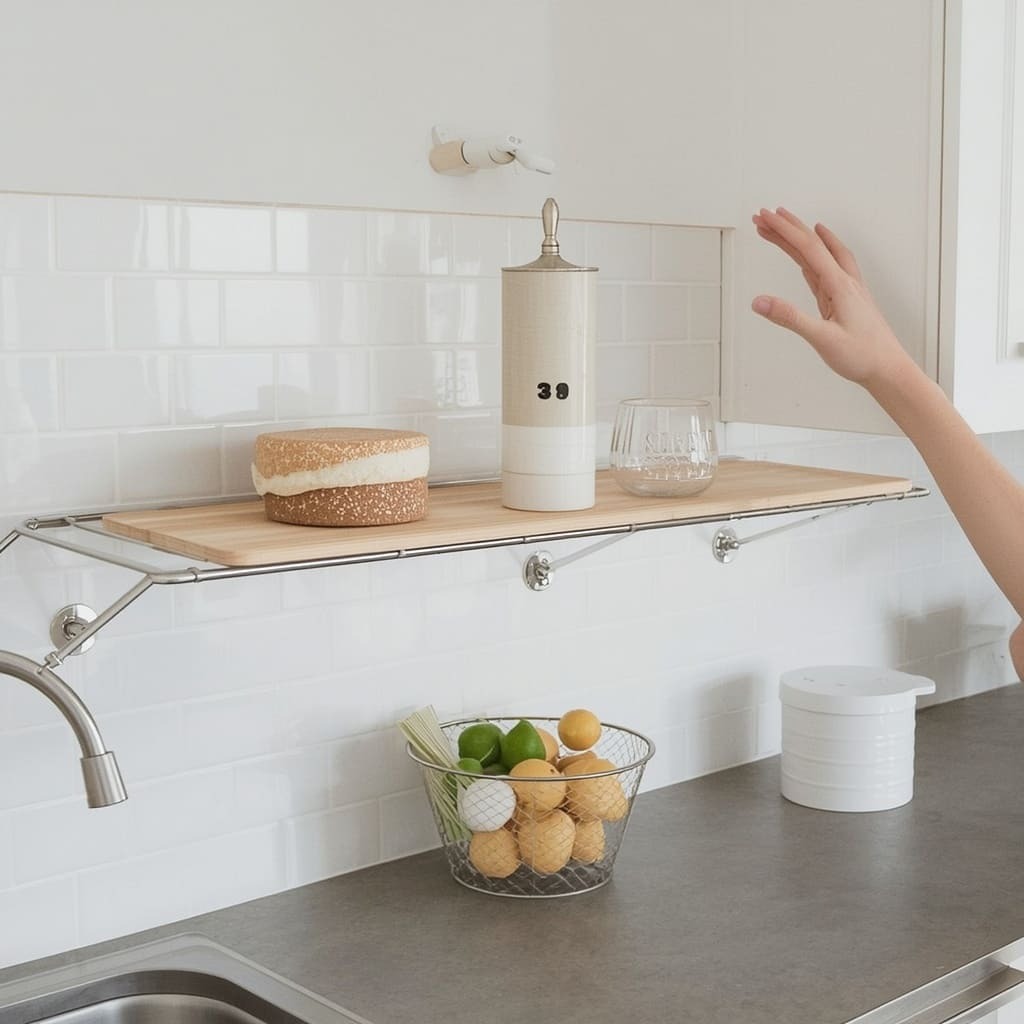
A tension rod shelf wedges between your cabinet and ceiling, or between two walls, using pressure instead of screws.
Every kitchen has an odd gap somewhere. Maybe it’s the space above your cabinets. Maybe it’s a narrow slice of wall between the fridge and the counter. Tension rod shelves were made for exactly this.
You twist the rod to extend it, wedge it into place, then rest a shelf board across it. No tools. No drilling. No damage. This works great for storing cutting boards, baking sheets, or trays you don’t use daily.
Double-check the weight limit before loading it up. Tension shelves hold pressure well, but they’re not meant for anything overly heavy like a stack of cast iron pans.
Measure the gap carefully in two spots, top and bottom, since some spaces are slightly uneven. Buy a rod that adjusts a few inches beyond your measurement so you have room to fine-tune the fit. Once it’s wedged in place, give it a gentle push test before loading anything on top.
This idea shines above upper cabinets, where there’s often several inches of dead space right up to the ceiling. That gap usually collects dust and does nothing for you. A tension shelf turns it into a spot for trays, cutting boards, or rarely used bakeware.
Shop The Look:
- Hershii Closet Tension Shelf & Rod (Expandable, Metal) – adjusts to fit narrow or wide gaps without any screws.
- ChoiCARE Closet Tension Shelf & Rod (Holds up to 33 lbs) – a stronger option if you’re stacking heavier bakeware or trays.
- Home in Bold Tension Rod Shelving (50 lb capacity) – built for kitchens, with a non-slip grip for the heaviest loads.
Mix Open Shelves With Closed Baskets To Hide Clutter
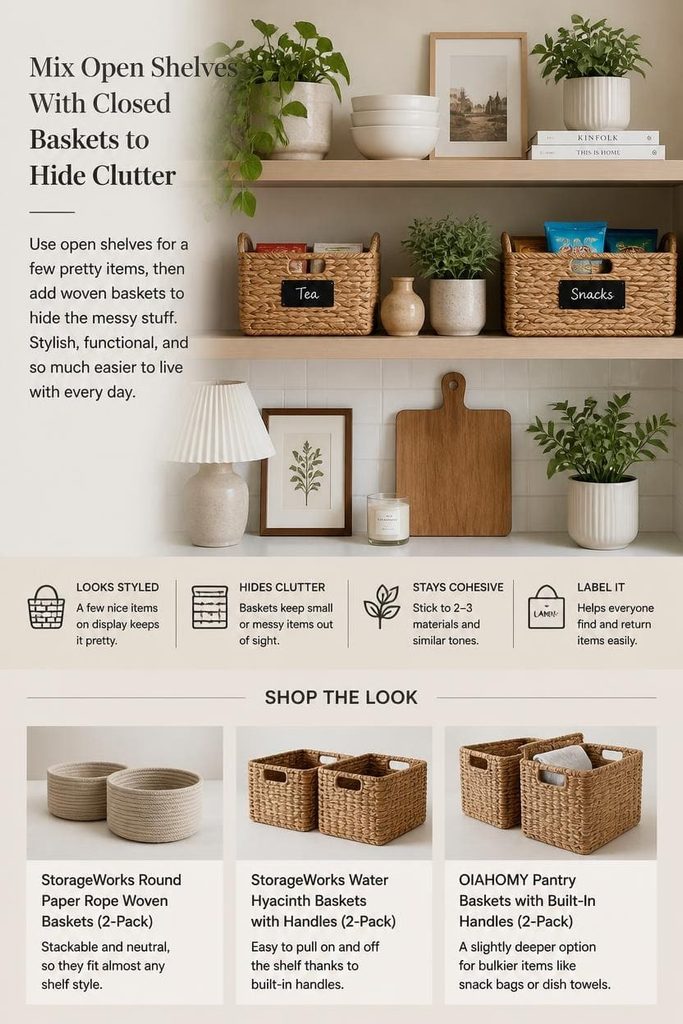
Pair your open shelves with a few woven baskets. You get the open-shelf look without everything on display.
Here’s the part nobody tells you upfront. Open shelves look amazing in photos. In real life, they show everything. Mismatched mugs. Half-used spice jars. Random gadgets you forgot you owned.
The fix is simple. Use your open shelves for a few pretty items, like matching bowls or plants. Then add one or two woven baskets on the same shelf to hide smaller, messier items. This keeps your shelf looking styled while still being functional.
I learned this after months of stressed-out tidying before guests came over. Now my “clutter” lives quietly inside a basket, and my shelf still looks good.
Choose baskets that are roughly the same tone or material to keep things looking pulled together. A mix of five random colors and textures can make even a tidy shelf feel chaotic. Stick to two or three materials at most, like woven rattan paired with a plain ceramic bowl.
Label baskets if you’re storing similar items, like tea bags or snack packets. This small step saves you from digging through three baskets looking for one thing. It also makes it easier for anyone else in your house to put things back where they belong.
Shop The Look:
- StorageWorks Round Paper Rope Woven Baskets (2-Pack) – stackable and neutral, so they fit almost any shelf style.
- StorageWorks Water Hyacinth Baskets with Handles (2-Pack) – easy to pull on and off the shelf thanks to built-in handles.
- OIAHOMY Pantry Baskets with Built-In Handles (2-Pack) – a slightly deeper option for bulkier items like snack bags or dish towels.
What To Know Before You Start Installing
Check your wall type, your lease, and your weight needs before you buy anything. This saves you time, money, and patch-up work later.
If you’re renting, read your lease first. Some landlords allow small nail holes but not larger anchors. Others require you to patch and repaint before moving out. Knowing this upfront helps you pick between drilled shelves, adhesive shelves, or freestanding options.
If you own your home, check whether your wall is drywall, plaster, or brick. Drywall needs anchors for anything heavier than a few pounds. Plaster and brick need specific drill bits, so don’t skip that step. Getting this wrong is the fastest way to end up with a shelf on your kitchen floor instead of your wall.
Think about what you’ll actually store before you buy anything. A shelf built for light décor won’t hold your cast iron skillet, no matter how sturdy it looks in photos.
Make a quick list of your heaviest items first. Then shop for shelves rated above that weight, not right at it. This small buffer keeps you from stressing every time you set something down.
FAQs About Kitchen Wall Shelves
Are floating shelves strong enough for kitchen dishes?
Yes, most floating shelves rated for 20 pounds or more can hold everyday dishes. Just avoid stacking too many heavy items on one shelf. Spread the weight across multiple shelves instead.
Can I install wall shelves without damaging a rental wall?
Yes, adhesive shelves and tension rod shelves both work without drilling. Command-strip style shelves are the most popular renter-friendly option. Always check your lease before mounting anything permanent.
How high should I mount kitchen wall shelves?
Mount your lowest shelf at a height you can reach without stretching, usually 15 to 18 inches above your counter. Higher shelves work fine for items you use less often. Keep daily items on the lowest shelf.
Do open shelves make a small kitchen look bigger?
Yes, open shelves create a lighter, more open feel compared to bulky cabinets. This works especially well in small or narrow kitchens. Just keep the shelf styling simple so it doesn’t feel cluttered.
What’s the biggest downside of open kitchen shelves?
Dust and visible clutter are the two most common complaints. Everything on an open shelf is exposed, so it needs regular wiping. Mixing in a few baskets helps hide the mess.
How much weight can a floating shelf hold?
This depends on the shelf and mounting method. Most brackets support 15 to 25 pounds per shelf, while adhesive shelves usually hold less. Always check the product listing before loading it up.

Emily Harper is a kitchen decor expert and interior designer with a passion for creating stylish, functional spaces. As a busy mom, she understands the importance of a kitchen that works for both family life and design. With 6 years of experience, Emily specializes in transforming kitchens into inviting, practical spaces. She’s known for her ability to blend trends with everyday needs, helping families create kitchens that feel like the heart of the home.