15 Creative Kitchen Island Ideas to Elevate Your Space
I love my kitchen. It’s where I cook, connect, and create memories. But something was missing. I needed a kitchen island. Why? They’re game-changers. They add counter space. They boost storage. They make your kitchen a social hub.

Want a kitchen island that fits your style and space? I’ve got you covered. In this article, I’ll share 15 kitchen island ideas. From modern to rustic, small to large, budget-friendly to luxurious, there’s something for everyone. Let’s dive in and find the perfect island for you.
Understanding Kitchen Islands
A kitchen island is a freestanding cabinet. It sits in the center of your kitchen. It’s not attached to walls or other counters.
I see it as a multitasking hero. It’s a prep station. It’s extra storage. It’s a casual dining spot. It can even be a place for kids to do homework.
Why do I love them? They increase counter space. They improve your cooking flow.
Plus, they add value to your home. According to real estate experts, kitchens with islands often attract buyers. Who wouldn’t want that?
Key Considerations Before Choosing an Island
Before I picked my island, I had to think carefully. Here’s what I learned:
- Space Requirements: Measure your kitchen. You need at least 36–42 inches of clearance around the island. This ensures you can move freely. My kitchen is 10×12 feet, so I opted for a compact island. For larger spaces, go bigger.
- Budget Considerations: Islands range from $200 for prefab models to $10,000+ for custom designs. I set a budget early. It helped me decide between DIY, store-bought, or custom.
- Lifestyle Needs: How do you use your kitchen? I cook daily and host often. I needed an island with prep space and seating. If you’re a baker, prioritize a sturdy countertop. If you have kids, consider rounded edges for safety.
Planning ahead saved me time and money. It will for you too.
15 Kitchen Island Ideas
Here are 15 ideas that sparked my imagination. Each one suits different styles, spaces, and needs. I’ve included design tips to help you bring them to life.
1. Multifunctional Island with Built-in Appliances

I’m all about efficiency. A multifunctional island with built-in appliances is a dream. Imagine a sink for washing veggies. Or a cooktop for stir-frying. Even a dishwasher to save steps. This island streamlines your workflow. It’s perfect if you cook a lot. I saw one with a microwave drawer—genius!
- Ideal For: Busy cooks like me who want everything within reach.
- Design Tips: Check plumbing and electrical needs early. Quartz or granite countertops handle spills and heat. Don’t forget ventilation for cooktops. A small exhaust fan works wonders.
2. Two-Tier Island for Dining and Prep

I love hosting brunches. A two-tier island makes it easy. The lower tier is for chopping and mixing. The raised tier is for dining or serving drinks. It’s like having a built-in bar. My friend has one, and it’s a crowd-pleaser.
- Ideal For: Families or party hosts.
- Design Tips: Use contrasting materials. I’d pair a wood prep surface with a marble dining top. Add pendant lights above the raised section. They create a cozy vibe.
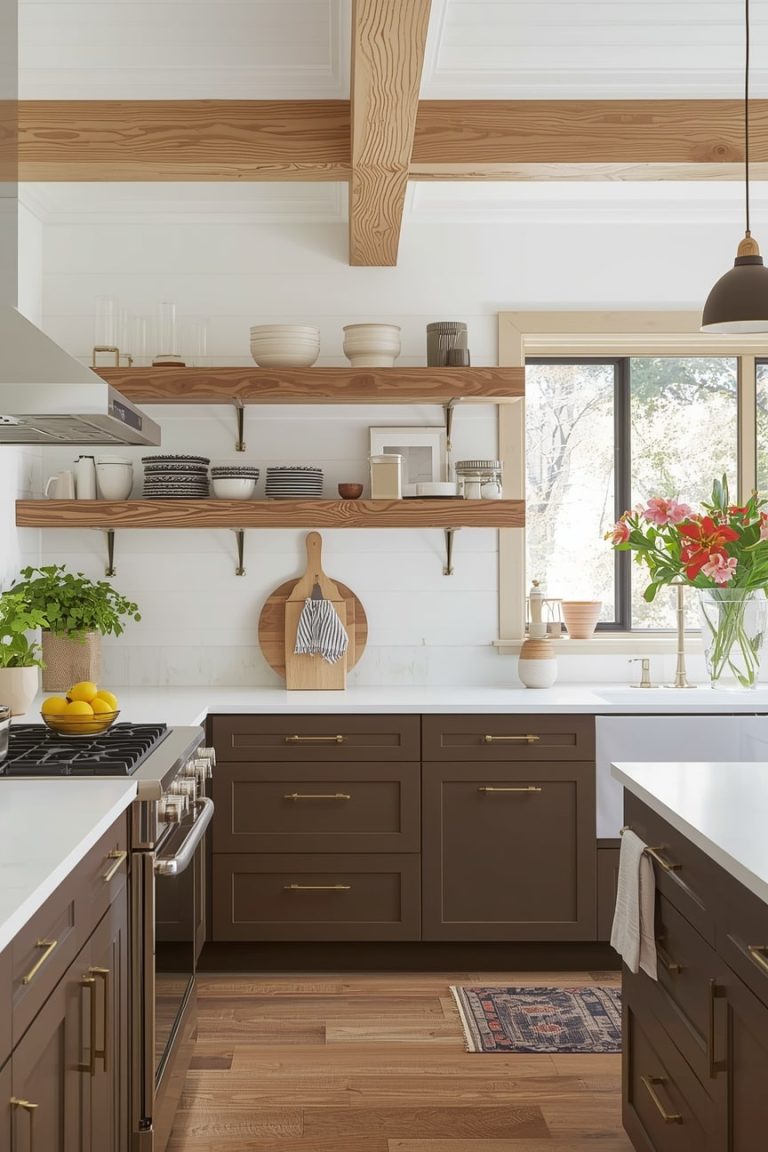
3. Rustic Farmhouse Island

My heart skips for rustic charm. A farmhouse island feels warm and inviting. Think reclaimed wood or distressed paint. Open shelves hold baskets or pottery. I saw one at a flea market—it screamed cozy.
- Ideal For: Farmhouse or cottage-style kitchens.
- Design Tips: Pair with wrought iron stools. Add mason jar vases for flowers. Keep the finish matte for authenticity. A whitewashed look is timeless.
4. Compact Island for Small Kitchens

My first apartment had a tiny kitchen. A compact island saved me. These are narrow or even portable. Some have wheels to roll away. I found one at IKEA that doubled as a cart.
- Ideal For: Apartments or small homes.
- Design Tips: Look for foldable extensions. Wheels add flexibility. A butcher block top adds prep space without bulk. Keep it under 36 inches wide.
5. Waterfall Edge Island

Modern vibes? Yes, please. A waterfall edge island is sleek. The countertop flows down the sides. It’s like a sculpture. I saw a marble one online—stunning.
- Ideal For: Contemporary or minimalist kitchens.
- Design Tips: Choose bold materials like marble or quartz. Keep cabinetry simple. White or black works best. Add chrome stools for polish.
6. Island with Built-in Wine Rack

I enjoy a glass of wine after cooking. An island with a wine rack is perfect. It stores bottles or glasses neatly. Some even have a cooler for chilling whites.
- Ideal For: Wine lovers or frequent hosts.
- Design Tips: Combine with a bar area. Add a shelf for cocktail tools. Under-counter coolers save space. Dark wood racks look classy.
7. Industrial-Style Island

I visited a loft with an industrial island. It was cool. Metal frames. Concrete countertop. It felt urban and raw. Perfect for a modern edge.
- Ideal For: Urban lofts or edgy designs.
- Design Tips: Add exposed Edison bulbs. Metal bar stools complete the look. A butcher block top softens the vibe if concrete feels too cold.
8. Curved or Rounded Island

Straight lines can feel harsh. A curved island softens things. It’s organic and welcoming. I saw a kidney-shaped one online. It was a showstopper.
- Ideal For: Modern or eclectic kitchens.
- Design Tips: Use bold colors like navy or green. Textured finishes like matte stone stand out. Pair with round stools for harmony.
9. Island with Open Shelving

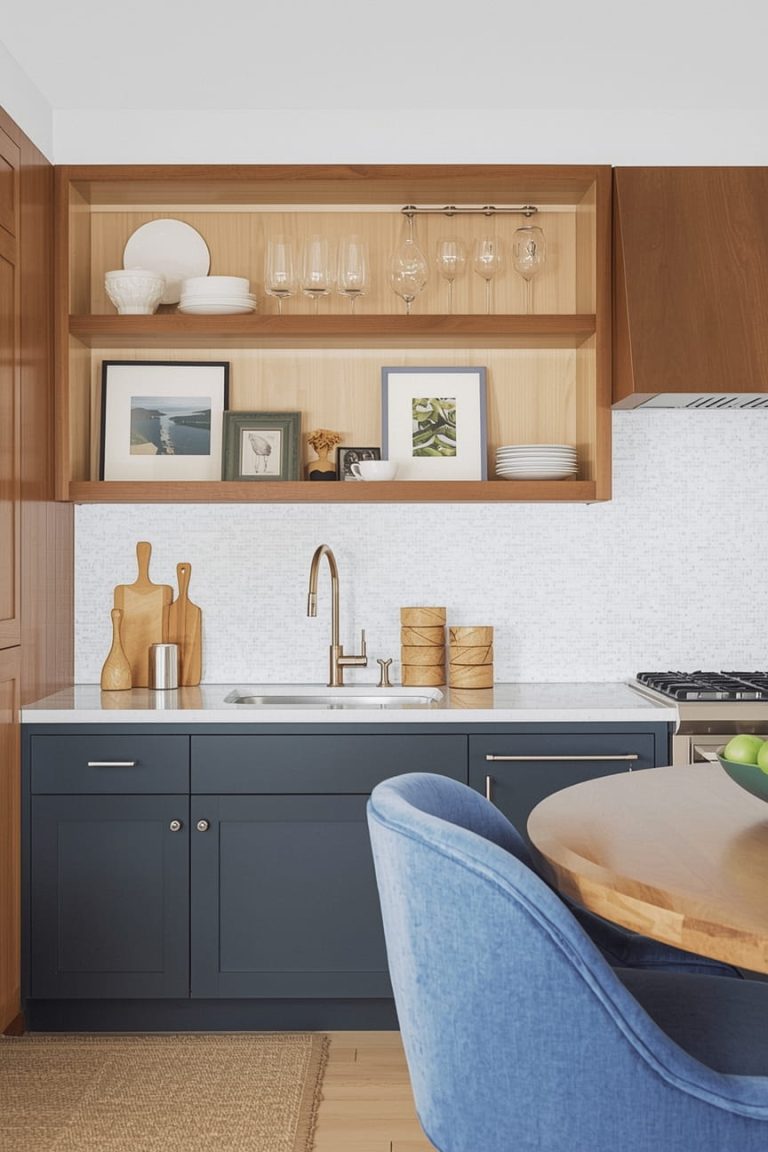
I love displaying my cookbooks. An island with open shelving is great for that. It holds books, dishes, or decor. It feels airy and personal.
- Ideal For: Stylists who love accessible storage.
- Design Tips: Balance open and closed storage. Too many items look cluttered. Use baskets to organize. White shelves keep it fresh.
10. Color-Pop Island

Neutral kitchens need a spark. A colorful island delivers. Think navy, emerald, or even red. My neighbor painted hers teal. It’s a conversation starter.
- Ideal For: Kitchens needing a focal point.
- Design Tips: Keep other cabinets neutral. White or gray works well. Add gold hardware for elegance. A glossy finish pops more.
11. Island with Butcher Block Top

I chop veggies daily. A butcher block island is sturdy. It’s warm and rustic. Plus, it’s a cutting board you can’t lose.
- Ideal For: Home cooks who need prep space.
- Design Tips: Seal the wood regularly. It prevents stains. Pair with white cabinets for contrast. Oil it monthly for longevity.
12. L-Shaped Island

Big kitchens need bold islands. An L-shaped island defines zones. One side for cooking. The other for seating. I saw one in a magazine. It felt luxurious.
- Ideal For: Large, open-plan kitchens.
- Design Tips: Add a corner nook for cozy seating. Use matching countertops for unity. Pendant lights highlight the shape.
13. Island with Integrated Trash/Recycling

I hate clutter. An island with built-in trash and recycling bins is a lifesaver. It hides waste. It keeps things tidy.
- Ideal For: Organized, eco-conscious homes.
- Design Tips: Use pull-out drawers. They’re easy to access. Label bins for sorting. Stainless steel liners are durable.
14. Vintage-Inspired Island

I adore antiques. A vintage-inspired island feels unique. Think repurposed furniture. An old table can become an island. I found one at a thrift store.
- Ideal For: Eclectic or bohemian kitchens.
- Design Tips: Add a modern countertop. Quartz or granite works. Keep the base distressed for charm. Add vintage knobs.
15. High-Tech Island

I’m a gadget nerd. A high-tech island excites me. Think charging stations. Pop-up outlets. Even touchless faucets. It’s the future.
- Ideal For: Tech-savvy homeowners.
- Design Tips: Conceal outlets for a clean look. Use matte finishes to hide fingerprints. Add a smart speaker for music while cooking.
Practical Tips for Designing Your Kitchen Island
Designing my island was fun but tricky. Here’s what I learned to make it easier for you.
Choosing Materials
Materials matter. They affect look, durability, and cost. Here’s my breakdown:
- Countertops:
- Quartz: Durable, non-porous, low maintenance. I chose it for my island. It resists stains. Cost: $50–$120 per square foot.
- Granite: Natural beauty, heat-resistant. Needs sealing. Cost: $40–$100 per square foot.
- Butcher Block: Warm, affordable. Needs regular oiling. Cost: $20–$60 per square foot.
- Concrete: Industrial, customizable. Can crack if not sealed. Cost: $65–$135 per square foot.
- Quartz: Durable, non-porous, low maintenance. I chose it for my island. It resists stains. Cost: $50–$120 per square foot.
- Cabinetry:
- Wood: Classic, durable. Oak or maple lasts. Cost: $100–$300 per linear foot.
- Laminate: Budget-friendly, easy to clean. Less durable. Cost: $50–$150 per linear foot.
- Metal: Modern, sturdy. Can dent. Cost: $150–$400 per linear foot.
- Wood: Classic, durable. Oak or maple lasts. Cost: $100–$300 per linear foot.
I mixed quartz with wood cabinets. It’s practical and pretty.
Lighting and Accessories
Lighting sets the mood. Accessories add function. Here’s what I recommend:
- Pendant Lights: Hang two or three above the island. I chose glass pendants. They’re elegant. Cost: $50–$500 each.
- Under-Cabinet Lighting: LEDs are energy-efficient. They help with prep. Cost: $20–$100 per strip.
- Chandeliers: Bold for large islands. I saw a crystal one online. Stunning. Cost: $200–$2,000.
- Stools: Comfort is key. I got cushioned stools. Height matters—30 inches for standard islands. Cost: $50–$300 each.
Maximizing Storage
Storage was my priority. Islands can hold a lot. Here’s how:
- Drawers vs. Cabinets: Drawers are great for utensils. Cabinets fit pots. I used both.
- Shelves: Open shelves display decor. Closed ones hide clutter. I added a mix.
- Organizers: Pull-out spice racks save space. Utensil dividers keep drawers tidy. I got mine at Home Depot.
Working with Professionals
I’m not a pro. Sometimes, you need help. Here’s my advice:
- Hire a Designer: They visualize layouts. I paid $500 for a consultation. Worth it.
- Hire a Contractor: For plumbing or electrical, don’t DIY. I got quotes from three contractors.
- Questions to Ask:
- What’s the timeline?
- Are permits needed?
- Can you source materials?
- What’s included in the cost?
Professionals made my island perfect.
Budgeting and Sourcing
Money matters. Sourcing smart saves cash. Here’s how I did it.
Cost Breakdown
Islands vary in price. Here’s what I found:
- Prefab Islands: $200–$2,000. IKEA and Wayfair have great options. Quick to install.
- Custom Islands: $2,000–$15,000. Includes unique designs, appliances, or high-end materials.
- Cost-Saving Tips:
- DIY painting or assembly. I painted my prefab island. Saved $300.
- Use secondhand materials. I found reclaimed wood online.
- Skip built-in appliances. They jack up costs.
My island cost $1,500. It’s prefab with a custom countertop.
Where to Shop
I hunted for the best deals. Here’s where to look:
- Retailers for Prefab Islands:
- IKEA: Affordable, modern. I got my base there. $200–$800.
- Home Depot: Durable options. Great for butcher block. $300–$1,500.
- Wayfair: Huge variety. Free shipping often. $250–$2,000.
- Custom Builders: Local craftsmen create bespoke designs. I found one on Etsy. Cost: $3,000–$10,000.
- Online Marketplaces: eBay or Facebook Marketplace for vintage finds. I scored an antique table for $400.
Shop around. Compare prices. You’ll find a gem.
FAQs
- How much space do I need for a kitchen island?
At least 36–42 inches of clearance on all sides. Measure your kitchen first. My 10×12 kitchen fits a 4×2-foot island. - Can I add a sink or stove to my island?
Yes, but it’s pricey. You’ll need plumbing or electrical work. Budget $1,000–$5,000 extra. I skipped this to save. - What’s the best material for a low-maintenance island?
Quartz is my pick. It’s non-porous and stain-resistant. Granite is good too but needs sealing. - How do I style my island without cluttering it?
Use a tray for essentials. Add one decorative item, like a vase. I keep a wooden bowl for fruit. It’s simple.
Conclusion
Kitchen islands are magic. They transform your space. They make cooking fun. They bring people together. I’ve shared 15 ideas to spark your creativity. From rustic to high-tech, there’s an island for you. My favorite? The multifunctional one. It fits my busy life. What’s yours? Start planning today. Measure your space. Set a budget. Browse stores or talk to a designer. Your dream kitchen is closer than you think. Want more tips? Check out my guides on kitchen storage or countertops. Let’s make your kitchen shine.

Emily Harper is a kitchen decor expert and interior designer with a passion for creating stylish, functional spaces. As a busy mom, she understands the importance of a kitchen that works for both family life and design. With 6 years of experience, Emily specializes in transforming kitchens into inviting, practical spaces. She’s known for her ability to blend trends with everyday needs, helping families create kitchens that feel like the heart of the home.