15 Halloween Door Decoration Ideas to Welcome the Spooky Season
Can you feel that crisp fall air and the thrill of the spooky season creeping in? I sure can, and I’m excited to share some fun, creative ways to transform your front door into a Halloween masterpiece.

Your door is the first thing trick-or-treaters, guests, and neighbors see, so let’s make it unforgettable. In this article, I’m diving into 15 Halloween door decoration ideas that cater to every style—whether you’re all about creepy vibes, cute charm, or elegant flair.
I’ve got you covered with step-by-step tips, budget-friendly hacks, and ideas for all skill levels. Ready to get started? Let’s make your door the talk of the neighborhood!
Table of Contents
- Understanding Halloween Door Decorations
- 15 Halloween Door Decoration Ideas
- 1. Classic Pumpkin Wreath
- 2. Spooky Spiderweb Door
- 3. Ghostly Silhouette Window Clings
- 4. Witch’s Cauldron Door Hanger
- 5. Skeleton Welcome Sign
- 6. Bat Swarm Doorway
- 7. Haunted House Silhouette
- 8. Candy Corn Garland
- 9. Monster Eyes Door Wrap
- 10. Vintage Halloween Signage
- 11. Jack-o’-Lantern Stack
- 12. Witch’s Broom Door Accent
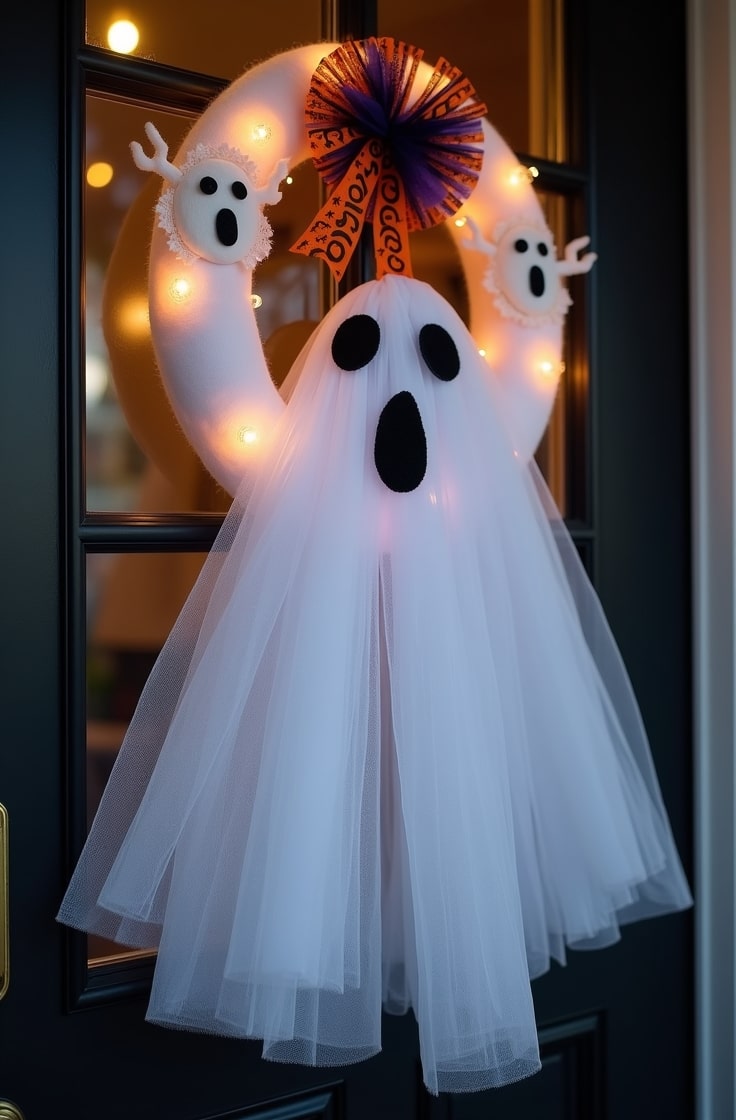
- 13. Glowing Skull Wreath
- 14. Zombie Hand Door Knocker
- 15. Enchanted Forest Vines
- Practical Tips for Implementation
- Conclusion
Understanding Halloween Door Decorations
Why Decorate Your Door?
I love decorating my door for Halloween—it’s like rolling out the welcome mat for the season! A decked-out door sets the mood for trick-or-treaters and guests. It screams, “We’re ready for Halloween!” Plus, it’s a fantastic way to join in the neighborhood fun.
When kids see a spooky or playful door, they know they’re in for a treat. And let’s be honest—it feels great to show off your personality through some festive decor.
Decorating your door also brings the community together. I’ve noticed how a well-decorated entrance sparks conversations with neighbors or inspires others to get creative.
It’s like a little gift to everyone passing by. Whether you go all-out creepy or keep it cute and cozy, your door sets the stage for Halloween magic.
Key Considerations for Your Halloween Door Decor
Before we jump into the ideas, let’s talk about a few things to keep in mind. First, your budget. I know not everyone wants to splurge, so I’ve included ideas that range from dirt-cheap DIYs to fancier store-bought options.
You can make something amazing without breaking the bank. Next, think about your skill level. Some of you might be craft wizards, while others (like me sometimes!) just want something quick and easy. I’ve got ideas for everyone, from beginners to seasoned DIYers.
Safety is another big one. If you’re decorating outside, make sure your creations can handle wind, rain, or even a surprise October snow.
I learned the hard way when a paper decoration turned into soggy mush! Also, if you’re using lights or candles, stick to battery-powered LEDs to avoid fire risks.
Finally, consider the vibe you’re going for. Want to scare the socks off trick-or-treaters?
Or maybe keep it friendly for the little ones? I’ve included a mix of spooky, whimsical, gothic, and family-friendly themes to suit any taste.
Halloween Door Decoration Trends for 2025
I’ve been keeping an eye on what’s hot for Halloween 2025, and there are some fun trends to inspire you. Eco-friendly decorations are huge this year.
Think recyclable materials or items you can reuse next Halloween. I’m also seeing a lot of interactive decor—like motion-activated lights or spooky sounds that surprise visitors. Another trend is choosing between minimalist or maximalist styles.
You can go sleek and simple with a single wreath or pile on the pumpkins, bats, and cobwebs for a bold look. Whatever your style, there’s something here for you.
15 Halloween Door Decoration Ideas
Now, let’s get to the good stuff—the decorations! I’ve curated 15 ideas that are easy to pull off, budget-friendly, and packed with Halloween spirit. Each one includes a description, materials, cost estimate, skill level, and the theme it fits. Whether you’re a crafting newbie or a DIY pro, you’ll find something to love.
1. Classic Pumpkin Wreath

Nothing says Halloween like pumpkins, right? A classic pumpkin wreath is my go-to for a warm, traditional vibe. Picture a foam wreath covered in mini pumpkins, colorful fall leaves, and a big burlap bow. It’s welcoming and screams “fall is here!” I love how versatile this one is—it works for early October through Thanksgiving.
Materials: You’ll need a foam wreath form, mini pumpkins (real or fake), hot glue, burlap ribbon, and faux fall leaves.
Cost: About $10–$20, depending on where you shop.
Skill Level: Beginner—perfect if you’re new to crafting.
Theme: Traditional, family-friendly.
I found mini pumpkins at my local dollar store for a steal. Glue them onto the wreath form in a pattern you like, tuck in some leaves, and tie a big bow. Hang it with a command hook, and you’re done! It’s so easy, and the result is cozy and festive.
2. Spooky Spiderweb Door

Want to give trick-or-treaters a little chill? A spooky spiderweb door is creepy but not too scary. I stretch cotton batting or white yarn across my door to mimic cobwebs, then add plastic spiders for extra creepiness. It’s like your door got taken over by giant spiders overnight!
Materials: Cotton batting or yarn, plastic spiders, command hooks.
Cost: $5–$15—super budget-friendly!
Skill Level: Beginner.
Theme: Spooky, haunted.
Pull the cotton batting into thin, wispy strands and drape them across your door. Secure with command hooks to avoid damage. Scatter a few plastic spiders (I got mine for a dollar a pack), and you’ve got a haunted vibe. Pro tip: Add a big spider in the center for maximum effect.
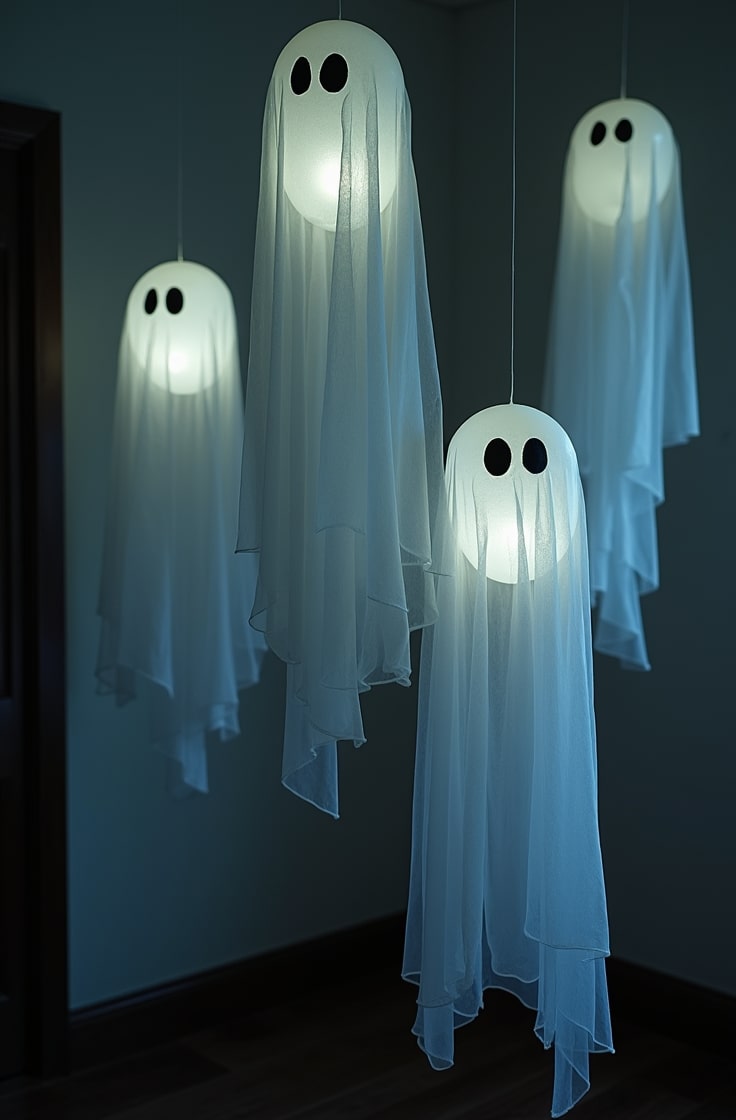
3. Ghostly Silhouette Window Clings

If your door has glass panels, ghostly silhouette clings are a must-try. I cut out ghost shapes from transparent vinyl and stick them on for a floating, eerie effect. They’re cute enough for kids but still give off a spooky glow at night.
Materials: Vinyl sheets, scissors, printable ghost templates.
Cost: $8–$12.
Skill Level: Beginner.
Theme: Cute, whimsical.
Find free ghost templates online, trace them onto vinyl, and cut them out. Stick them on your door’s glass, and they’ll look like they’re hovering. I love how these catch the light during the day and look extra spooky when backlit at night. Kids adore them!
4. Witch’s Cauldron Door Hanger

I’m obsessed with this witchy idea—a mini cauldron that looks like it’s bubbling with magic. I use a small black bucket, stuff it with green tissue paper, and add battery-powered LED lights for a glowing effect. It’s like a witch left her brew behind!
Materials: Black bucket, green tissue paper, battery-powered LEDs.
Cost: $15–$25.
Skill Level: Intermediate.
Theme: Witchy, magical.
Fill the bucket with crumpled tissue paper to mimic a bubbling potion. Tuck in some LEDs for a mystical glow. Hang it on your door with a sturdy hook. I added a “Stir at Your Own Risk” sign for extra charm. It’s a fun, magical touch!
5. Skeleton Welcome Sign

I love a good skeleton, don’t you? A skeleton welcome sign is a playful way to greet trick-or-treaters. Imagine a wooden sign with a skeleton figure and “Boo!” painted on it. It’s spooky yet friendly, perfect for families.
Materials: Wood plank, paint, skeleton decoration.
Cost: $10–$20.
Skill Level: Intermediate.
Theme: Spooky, playful.
Grab a wooden plank from a craft store and paint it black or orange. Add a skeleton figure (plastic or foam) and some bold lettering. I used white paint for a chalkboard vibe. Hang it with a ribbon or hook. It’s a fun project that kids can help with!
6. Bat Swarm Doorway

Bats are a Halloween classic, and this bat swarm doorway is so easy to make. I cut out black paper bats and stick them in a swooping pattern across the door. It looks like a flock of bats is flying right out of your house!
Materials: Black cardstock, double-sided tape, bat template.
Cost: $5–$10.
Skill Level: Beginner.
Theme: Creepy, gothic.
Find a bat template online, trace it onto cardstock, and cut out as many as you want. Arrange them in a curved pattern to mimic flight. Use double-sided tape to stick them on. I made 20 bats for a dramatic effect, and it took less than an hour!
7. Haunted House Silhouette

This one’s for the gothic fans! A haunted house silhouette turns your door into a creepy mansion scene. I use black foam board to create a house shape with glowing yellow windows, backed by LED candles.
Materials: Black foam board, yellow tissue paper, LED candles.
Cost: $15–$30.
Skill Level: Intermediate.
Theme: Gothic, eerie.
Cut a house shape from foam board, including windows. Tape yellow tissue paper behind the windows and place LED candles behind them for a spooky glow. Attach it to your door with command strips. It’s like a haunted house come to life!
8. Candy Corn Garland

Candy corn is a Halloween staple, and a candy corn garland is so cute! I make mine with fabric or paper in those iconic white, orange, and yellow colors. It’s a cheerful addition to any door.
Materials: Fabric or cardstock (white, orange, yellow), string, glue.
Cost: $8–$15.
Skill Level: Beginner.
Theme: Cute, family-friendly.
Cut candy corn shapes from fabric or cardstock. String them together with glue or a needle and thread. Drape the garland around your doorframe or across the top. I love how bright and festive it looks!
9. Monster Eyes Door Wrap

This one’s a kid favorite! A monster eyes door wrap turns your door into a giant, goofy monster with big googly eyes and jagged teeth. It’s fun and not too scary.
Materials: Vinyl wrap or poster board, googly eyes, paint.
Cost: $20–$35.
Skill Level: Intermediate.
Theme: Playful, kid-friendly.
Get a vinyl wrap or cut poster board to fit your door. Paint on a monster face with big eyes and teeth. Glue on large googly eyes for extra silliness. I used a green base color for a classic monster look. Kids will love knocking on this door!
10. Vintage Halloween Signage

For a touch of nostalgia, try vintage Halloween signage. I make distressed wooden signs with retro phrases like “Trick or Treat” or “Beware.” They’re elegant and timeless.
Materials: Wood, sandpaper, paint, stencils.
Cost: $15–$25.
Skill Level: Intermediate.
Theme: Vintage, elegant.
Sand a wooden plank for a weathered look. Use stencils to paint on your phrase. I went for a black-and-orange color scheme with white lettering. Hang it with a ribbon for a chic, old-school vibe.
11. Jack-o’-Lantern Stack

Jack-o’-lanterns are Halloween royalty! A stack of faux pumpkins with carved faces, lit from within, makes a bold statement. I love how they glow at night.
Materials: Foam pumpkins, LED lights, paint.
Cost: $20–$40.
Skill Level: Intermediate.
Theme: Traditional, festive.
Stack three or four foam pumpkins, carving faces into each. Paint them if you want a unique look. Place LED lights inside for a warm glow. Secure them with glue or skewers. It’s a showstopper!
12. Witch’s Broom Door Accent

A witch’s broom door accent is so fun and witchy. I use a rustic broom, top it with a mini witch hat, and add spider accents for a magical touch.
Materials: Broom, mini witch hat, plastic spiders, ribbon.
Cost: $10–$20.
Skill Level: Beginner.
Theme: Witchy, whimsical.
Tie a witch hat to the top of a small broom. Add spiders and a ribbon for flair. Lean it against your door or hang it. I added a tiny “Witch Parking Only” sign for laughs!
13. Glowing Skull Wreath

This glowing skull wreath is spooky and stylish. I wrap a foam wreath with plastic skulls and fairy lights for a haunting glow.
Materials: Foam wreath, plastic skulls, fairy lights, hot glue.
Cost: $15–$30.
Skill Level: Intermediate.
Theme: Spooky, gothic.
Glue skulls onto the wreath form, weaving fairy lights between them. Plug in the lights (battery-powered, please!) for a creepy effect. I used white skulls for a ghostly look.
14. Zombie Hand Door Knocker

For horror fans, a zombie hand door knocker is a creepy touch. I use a plastic hand prop that looks like it’s reaching out to grab visitors.
Materials: Plastic hand prop, paint, mounting hardware.
Cost: $10–$25.
Skill Level: Beginner.
Theme: Horror, creepy.
Paint the hand a sickly green or gray. Attach it to your door with a sturdy mount. It’s functional and terrifying—perfect for brave trick-or-treaters!
15. Enchanted Forest Vines

For an elegant, magical vibe, try enchanted forest vines. I drape faux vines with tiny pumpkins and fairy lights across my door. It’s like a fairy tale come to life.
Materials: Faux vines, mini pumpkins, battery-powered lights.
Cost: $15–$30.
Skill Level: Beginner.
Theme: Magical, elegant.
Wrap vines around your doorframe, tucking in pumpkins and lights. Secure with command hooks. I love how this looks at night with the twinkling lights!
Practical Tips for Implementation
Sourcing Materials
I’m all about saving money, so here’s where I shop. Dollar stores are goldmines for plastic spiders, LED lights, and craft basics. Craft stores like Michaels or Hobby Lobby have foam pumpkins and vinyl sheets. For unique finds, check out Etsy or Amazon. Want to go green? Use recycled paper for bats or biodegradable materials for wreaths. You can even repurpose old sheets for ghost clings!
Installation Tips
Outdoor decorations need to be tough. I use weatherproof command strips to keep things secure without damaging my door. Make sure your decor doesn’t block the door’s swing or pathways—safety first! Test any lights or electronics before you commit to the setup. I once had a string of fairy lights die on me mid-decoration—such a bummer!
Safety Guidelines
Keep it safe out there. Skip open flames and use LED candles or battery-powered lights. Secure heavy items like pumpkins or signs to avoid accidents. Clear walkways to prevent tripping—those little trick-or-treaters can be speedy! I always double-check my setup to make sure everything’s stable.
Customization Ideas
Make it your own! Add your family’s name to a sign or incorporate favorite characters. I mixed a spiderweb door with a witch’s broom for a unique combo. Try painting pumpkins in non-traditional colors like purple or black for a modern twist. Your door, your rules!
Conclusion
Phew, we covered a lot, didn’t we? From classic pumpkin wreaths to creepy zombie hands, these 15 Halloween door decoration ideas offer something for everyone.
Whether you love spooky, cute, or elegant vibes, you can create a door that wows your neighborhood. I had so much fun sharing these ideas with you, and I hope you’re inspired to try a few.
Pick one or two, add your personal touch, and share your creations online. Halloween is all about creativity and community, so let’s make this season the best yet!

Emily Harper is a kitchen decor expert and interior designer with a passion for creating stylish, functional spaces. As a busy mom, she understands the importance of a kitchen that works for both family life and design. With 6 years of experience, Emily specializes in transforming kitchens into inviting, practical spaces. She’s known for her ability to blend trends with everyday needs, helping families create kitchens that feel like the heart of the home.