7 Coastal Farmhouse Kitchen Ideas You Can Actually Finish This Year
I gutted my first kitchen with a crowbar and zero plan. Big mistake.
I pulled down cabinets before I knew what I wanted, and I lived with a plywood countertop for four months while I “figured it out.”
That kitchen taught me something: coastal farmhouse style looks effortless, but it only works when you plan each piece before you touch a single wall.
Now I plan every project start to finish before I buy a single tool. Here are five products I’d grab first, then seven ideas you can complete room by room.

Top 5 Products for Your Coastal Farmhouse Kitchen
- Kichler Brinley Pendant Light — A woven rattan shade over a black or brass frame gives your island instant coastal warmth without looking themed.
- Franklin Brass Cabinet Pulls (Warm Brass Finish) — These swap out in an afternoon and change the entire feel of your cabinets for under $50.
- Winsome Wood Bar Stools with Woven Seats — Natural rattan or cane seating adds texture that plain wood or metal stools can’t.
- mDesign Farmhouse Ceramic Canister Set — Open shelving needs pretty containers, and these keep flour and sugar both visible and useful.
- Sunnydaze Reclaimed-Look Floating Shelf Brackets — Cast iron brackets in a black or antique finish hold real weight while adding that lived-in farmhouse look.
Add a Reclaimed Wood Island Instead of a Standard One
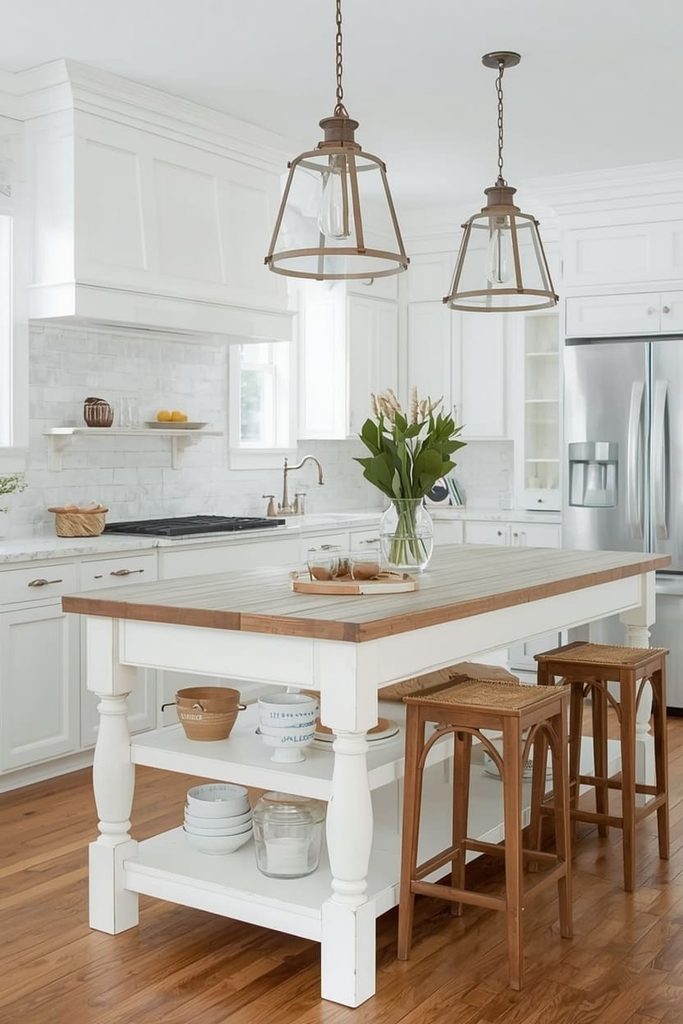
Skip the builder-grade island and build or buy one with a reclaimed or distressed wood top. It’s the single fastest way to make a kitchen feel like it belongs in a coastal cottage instead of a new-build subdivision.
You have two paths here. If you’re handy, build a simple frame from pine or fir, then finish the top with a whitewash stain so the grain still shows through.
If you’d rather buy, look for a farmhouse-style island with turned legs and a distressed top finish.
Either way, keep the base painted white or soft blue and let the wood top do the talking.
Budget $300 to $1,200 depending on whether you build or buy. Weekend project if you’re building; a few hours if you’re assembling one.
Install Shiplap on One Wall, Not the Whole Kitchen
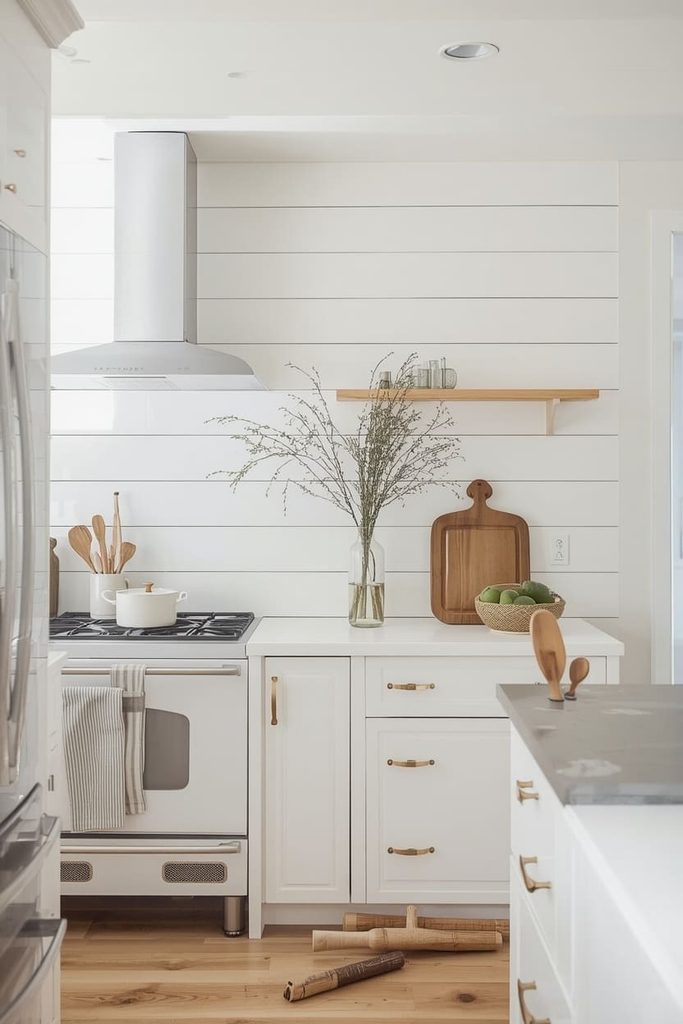
Pick a single wall, likely the one behind your range or sink, and install shiplap there only. A full room of shiplap reads busy and can make a small kitchen feel tighter, not cozier.
Use pre-primed MDF shiplap boards from your local hardware store.
They install with a nail gun and construction adhesive, no carpentry degree required.
Paint it a soft white like Sherwin-Williams Alabaster or a pale blue-gray if you want a beachier feel.
This project costs $150 to $400 for materials and takes a solid weekend if you’re doing it yourself.
Replace Upper Cabinets with Open Shelving Above the Sink
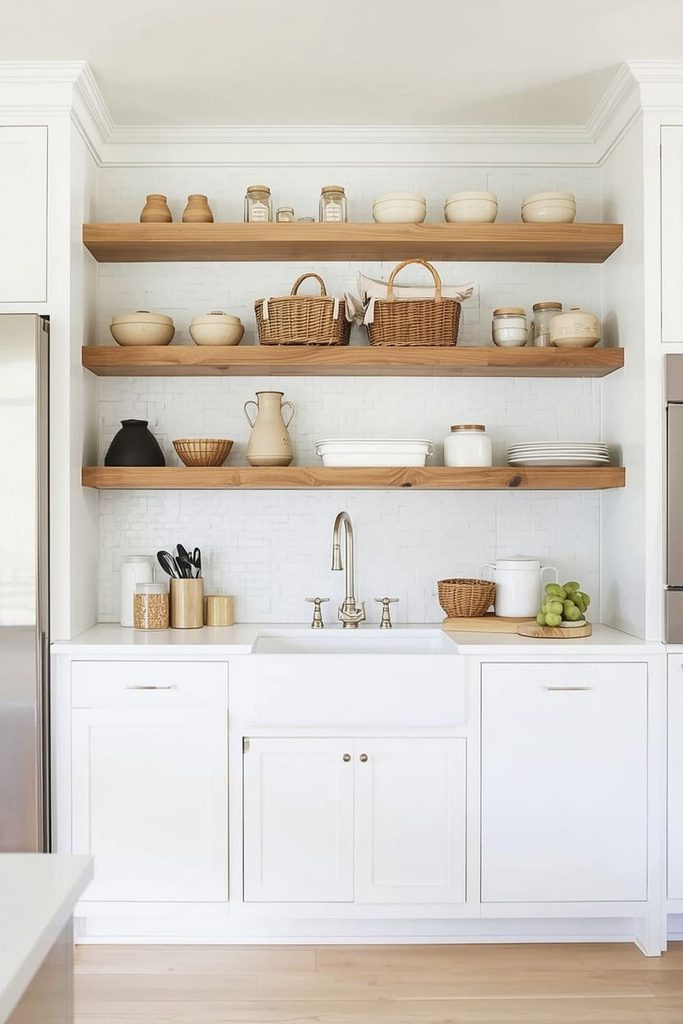
Remove the cabinet doors above your sink, or take the whole cabinet down, and replace it with two or three floating shelves. Open shelving is the fastest way to add that airy, cottage-kitchen feel that photographs so well.
Use solid wood shelves, not laminate, since they’ll be on display.
Stain them a warm natural tone or whitewash them to match your island.
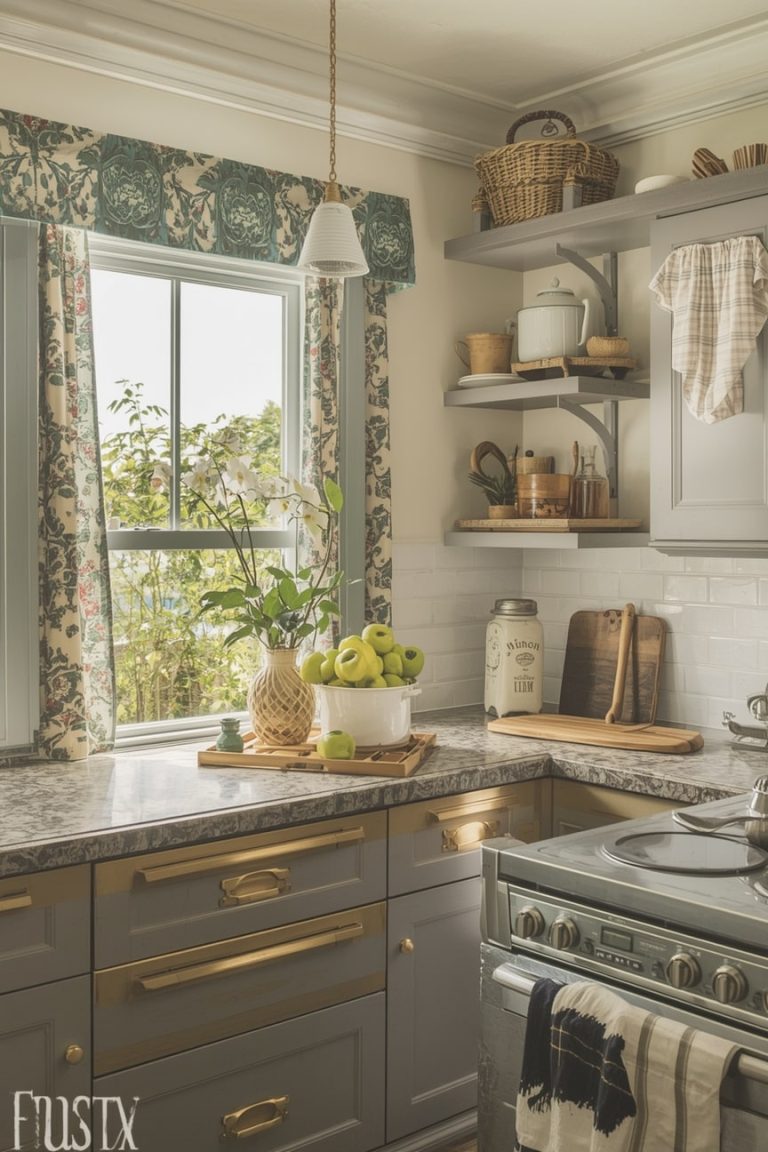
Style them with your ceramic canisters, a few woven baskets, and stacked white plates.
This is a one-day project and costs under $150 if you’re handling the install yourself.
Swap Your Faucet and Cabinet Hardware in the Same Weekend
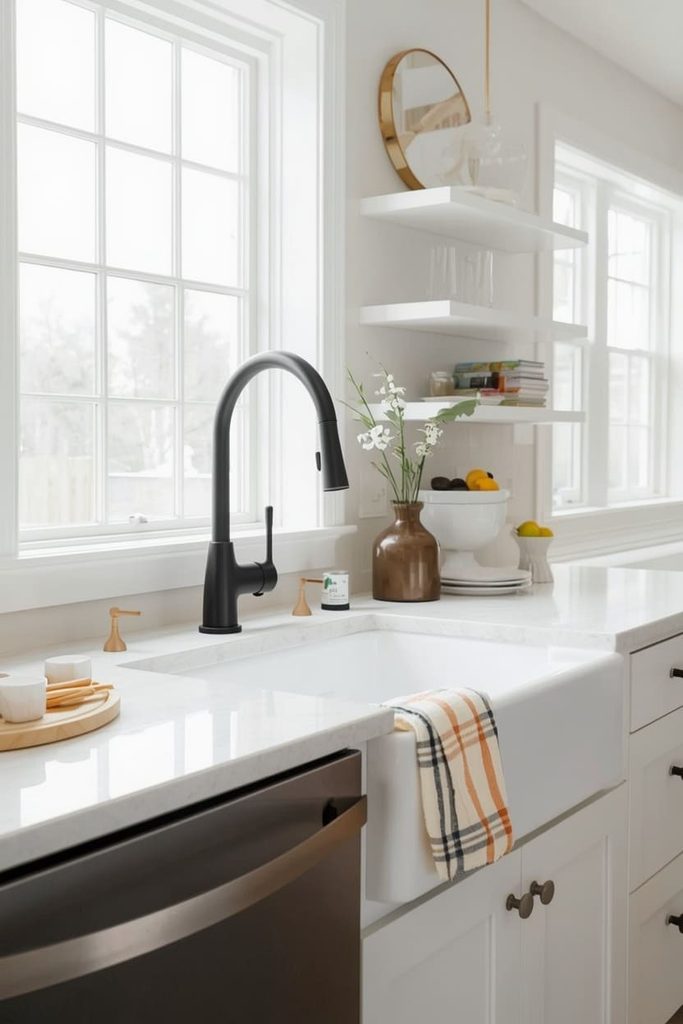
Change your kitchen faucet to a bridge-style or gooseneck faucet in matte black or brushed brass, and swap every cabinet pull and knob to match. Hardware is the detail people notice first, even before they clock the bigger renovations.
Measure your existing hole spacing before you order, since bridge faucets often need two holes instead of one.
Budget $150 to $350 for the faucet and another $50 to $100 for a full set of pulls.
This is a half-day project for most homeowners with basic tools, though hiring a plumber for the faucet swap runs another $100 to $200 if you’d rather not deal with shutoff valves.
Paint Your Cabinets White and Add a Blue Island
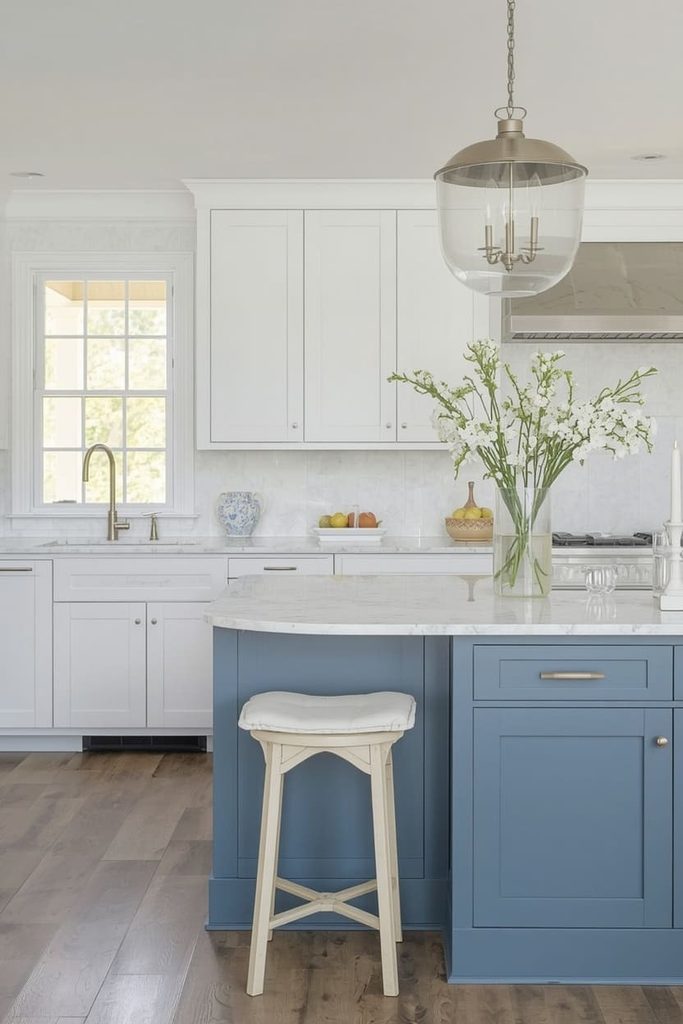
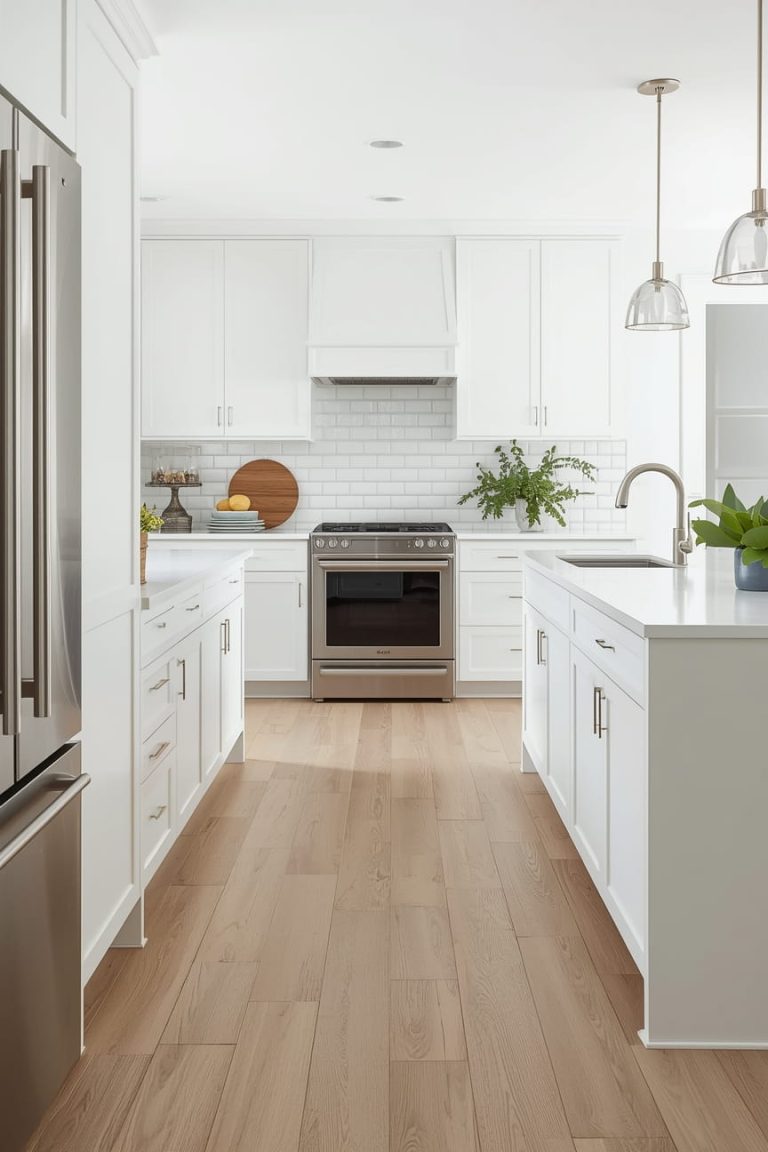
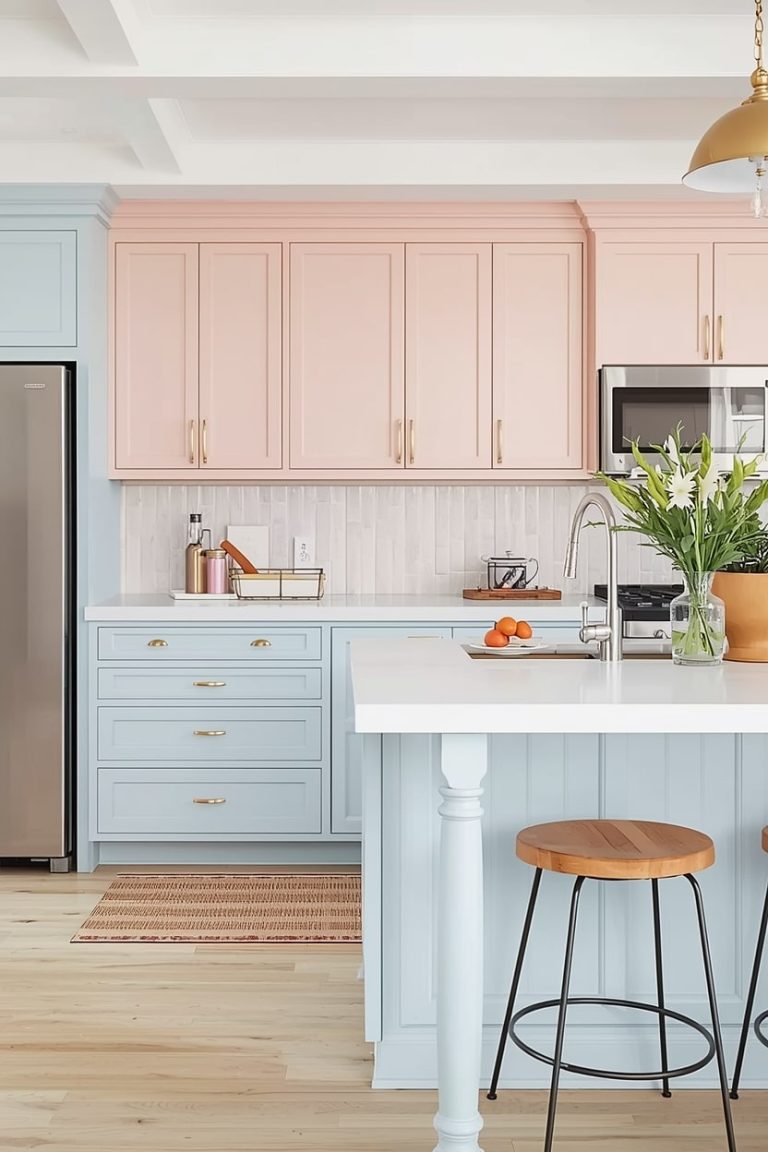
Paint your upper and lower cabinets a warm white, then paint just the island a soft coastal blue like Sherwin-Williams Rainwashed or Benjamin Moore Hale Navy for more contrast. Two-tone cabinets give you the coastal color story without committing your whole kitchen to blue.
Sand and prime every surface first, or your paint job will chip within a year.
Use a cabinet-grade enamel paint, not standard wall paint, since it holds up to daily wear.
This is a multi-day project if you’re doing every cabinet yourself, and costs $200 to $500 in paint and supplies.
Hiring a painter for the full job typically runs $1,500 to $3,000 depending on your kitchen size.
Add a Woven Runner Rug Instead of a Plain Bath Mat
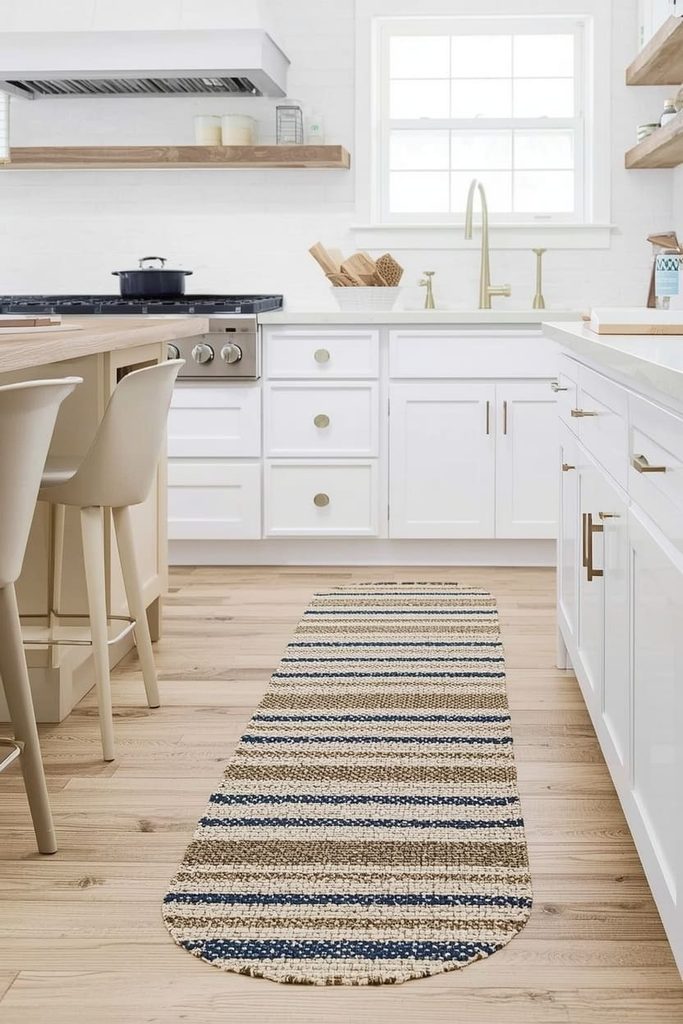
Swap out any plain kitchen mat for a jute or woven runner rug in a neutral or striped pattern. Rugs add texture underfoot, and a natural fiber runner does more for the coastal farmhouse look than almost any other single item in the room.
Look for a flatweave jute or sisal-blend rug that can handle spills, since kitchens see more foot traffic and mess than any other room.
Place it in front of your sink or along your island for a defined, styled zone.
This costs $40 to $150 depending on size and takes literally five minutes to install.
Replace Your Range Hood with a Vent Hood Cover
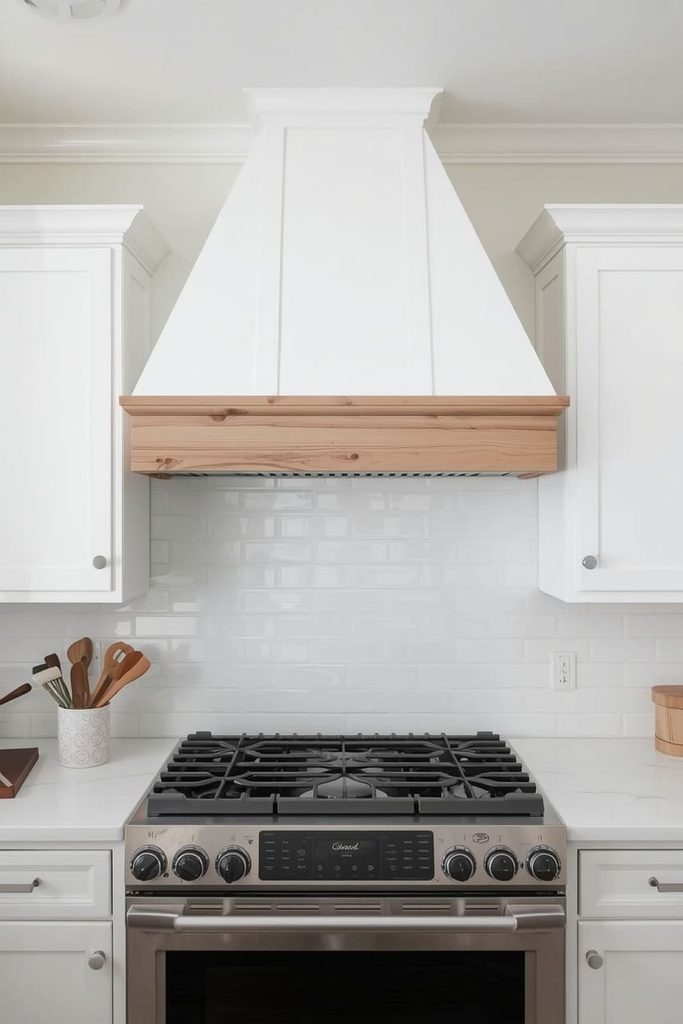
Cover your existing range hood with a wood or shiplap vent hood surround, or install a new one if you’re already renovating. A statement hood becomes the visual anchor of the whole kitchen, similar to how a fireplace anchors a living room.
If your current hood is functional but ugly, you can build a simple wood box around it using the same shiplap or reclaimed wood from your island project, then paint or stain it to match.
If you’re starting from scratch, a wood-wrapped vent hood insert runs $400 to $1,200 depending on size.
This is a moderate DIY project, best for someone comfortable with basic carpentry, or a one-day job for a contractor.
Frequently Asked Questions
How much does a coastal farmhouse kitchen remodel typically cost?
A full remodel ranges from $15,000 to $40,000 depending on your kitchen size and whether you’re doing structural changes. If you’re working with a smaller budget, focus on cabinet paint, hardware, lighting, and open shelving first, since those four changes alone can transform a kitchen for under $2,000.
Can I get this look in a small kitchen?
Yes, and small kitchens often benefit more from this style than large ones. Stick to light colors, keep upper cabinets open or glass-front to avoid visual heaviness, and use one accent wall of shiplap instead of covering every surface.
What paint colors work best for coastal farmhouse kitchens?
Warm whites like Sherwin-Williams Alabaster or Benjamin Moore White Dove work as your base. For accent colors, soft blues like Rainwashed or Sea Salt bring in the coastal half of the equation without feeling like a nautical theme park.
How do I mix coastal and farmhouse styles without it looking mismatched?
Let farmhouse handle your structure and materials, think shiplap, reclaimed wood, and black or brass hardware, and let coastal handle your color and texture, think blue accents, woven baskets, and jute rugs. Keep one style dominant and use the other as an accent so the room doesn’t compete with itself.
Can renters do any of these ideas?
Several of these work well for renters. Swap in a removable faucet cover, use peel-and-stick shiplap wallpaper instead of real boards, add a woven runner rug, and style open counter space with canisters and baskets, all fully reversible when you move out.
What’s the one change that makes the biggest visual difference for the least money?
Cabinet hardware and lighting. A pendant light swap and a full round of new pulls cost under $200 combined but change how the entire kitchen reads, since they’re the details your eye catches first when you walk into the room.
Start with one idea from this list, not all seven at once. Pick whichever fits your timeline and budget this month, finish it completely, then move to the next. That’s how a real coastal farmhouse kitchen comes together, one finished project at a time, not one Pinterest board of half-started plans.

Emily Harper is a kitchen decor expert and interior designer with a passion for creating stylish, functional spaces. As a busy mom, she understands the importance of a kitchen that works for both family life and design. With 6 years of experience, Emily specializes in transforming kitchens into inviting, practical spaces. She’s known for her ability to blend trends with everyday needs, helping families create kitchens that feel like the heart of the home.