15 Homemade Christmas Decorations to Try This Year
I love the holiday season. The twinkling lights, the cozy gatherings, the scent of pine—it’s magical. But let’s be honest: decorating can get expensive. That’s why I’m excited to share 15 homemade Christmas decorations with you.

These projects are fun, budget-friendly, and perfect for adding a personal touch to your home. Whether you’re a crafting pro or just starting out, there’s something here for everyone.
From ornaments to wreaths to table decor, these ideas will spark your creativity. You’ll save money, make memories, and fill your home with warmth. Ready to dive in? Let’s get crafting!
Table of Contents
- Why Choose Homemade Christmas Decorations?
- Materials and Tools Needed
- 15 Homemade Christmas Decoration Ideas
- 1. Pinecone Ornaments
- 2. Paper Snowflakes
- 3. Mason Jar Snow Globes
- 4. Felt Christmas Ornaments
- 5. Twig Christmas Tree
- 6. Yarn-Wrapped Wreath
- 7. Salt Dough Ornaments
- 8. Cinnamon Stick Candles
- 9. Burlap Table Runner
- 10. Wine Cork Reindeer
- 11. Glittery Bottle Brush Trees
- 12. Fabric Scrap Garland
- 13. Photo Frame Ornaments
- 14. Orange Slice Garland
- 15. Popsicle Stick Snowmen
- Step-by-Step Crafting Tips
- Displaying Your Decorations
- Engaging the Family
- Eco-Friendly and Budget Tips
- Conclusion
Why Choose Homemade Christmas Decorations?
Why make your own decorations? For me, it’s about more than just saving a few bucks. Crafting lets you create something special that reflects your style. Here’s why I think you’ll love it too.
Cost-Effectiveness
Store-bought decorations can cost a fortune. A single wreath might set you back $50 or more. But with homemade projects, you use items you already have or find for cheap. Think pinecones from your backyard or leftover yarn from an old project. You’ll spend less and still get stunning results.
Personalization
When you craft, you call the shots. Want a red-and-gold theme to match your living room? Go for it. Love rustic vibes? Use natural materials like twigs and burlap. You can make every piece uniquely yours, and that’s something no store can offer.
Eco-Friendly
I’m all about keeping things green. Homemade decorations let you repurpose items like jars, corks, or fabric scraps. You can also use natural materials like pinecones or dried oranges. It’s a great way to reduce waste and celebrate the season sustainably.
Family Bonding
Crafting is a blast with family. I remember making ornaments with my kids, laughing as we glued glitter everywhere. These projects bring people together. Whether it’s your kids, partner, or friends, you’ll create memories that last longer than the decorations.
Satisfaction of Creation
There’s nothing like stepping back and seeing your work on display. That moment when you hang an ornament you made? Pure joy. It’s a small victory that makes your home feel extra special.
Materials and Tools Needed
Before we jump into the projects, let’s talk about what you’ll need. Don’t worry—you won’t need a fancy craft room. Most of these items are easy to find or already in your home.
Common Materials
You’ll use things like paper, twine, pinecones, fabric scraps, and mason jars. Old buttons, yarn, or wine corks work great too. Check your closets or junk drawers for hidden treasures. You’d be surprised what you can repurpose.
Basic Tools
A few basics will get you far: scissors, a hot glue gun, acrylic paint, needles, and thread. If you don’t have a glue gun, grab one—they’re affordable and make crafting so much easier. A ruler and pencil help with measuring, too.
Sourcing Tips
Look around your home first. Got old jars or fabric scraps? Perfect. Nature is a goldmine—collect pinecones, twigs, or acorns on a walk. Thrift stores are great for cheap supplies like yarn or frames. If you need something specific, craft stores or online retailers have everything, often with sales.
Sustainability Focus
I love using eco-friendly materials. Try cardboard instead of foam for wreath bases. Use natural twine instead of plastic ribbon. If you’re tossing something, ask yourself: “Can I use this?” You’ll cut waste and feel good about it.
15 Homemade Christmas Decoration Ideas
Here are the 15 projects I promised. Each one includes a description, materials, skill level, step-by-step instructions, and a tip to make it shine. Let’s get started!
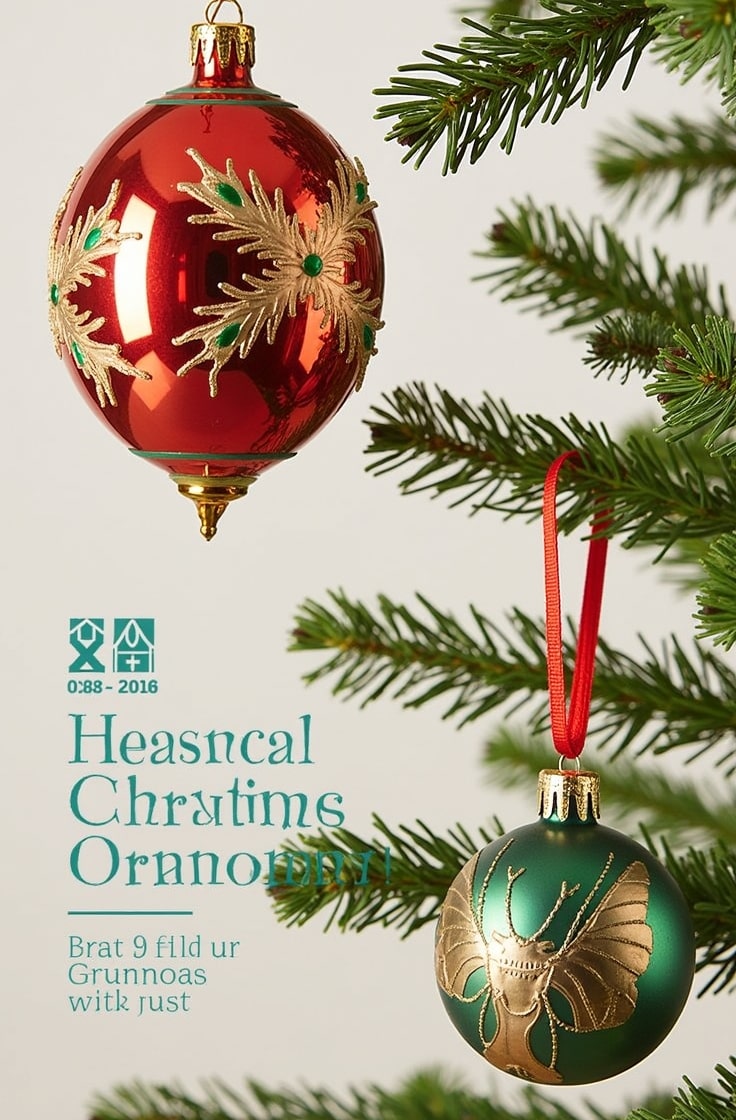
1. Pinecone Ornaments

Description: These are simple ornaments made from pinecones, painted or dusted with glitter. They look great on a tree or in a bowl as a centerpiece.
Materials: Pinecones, acrylic paint, glitter, ribbon, hot glue.
Skill Level: Beginner.
Instructions:
- Collect pinecones from your yard or a park. Rinse them to remove dirt and bake at 200°F for 30 minutes to dry.
- Paint the pinecones in festive colors like red, green, or gold. Let them dry completely.
- Brush glue on the tips and sprinkle glitter for sparkle.
- Tie a ribbon loop around the top with hot glue to hang.
- Hang on your tree or display in a decorative bowl.
Tip: Use metallic paint for a classy look, or glue small bells to the bottom for a jingly charm.
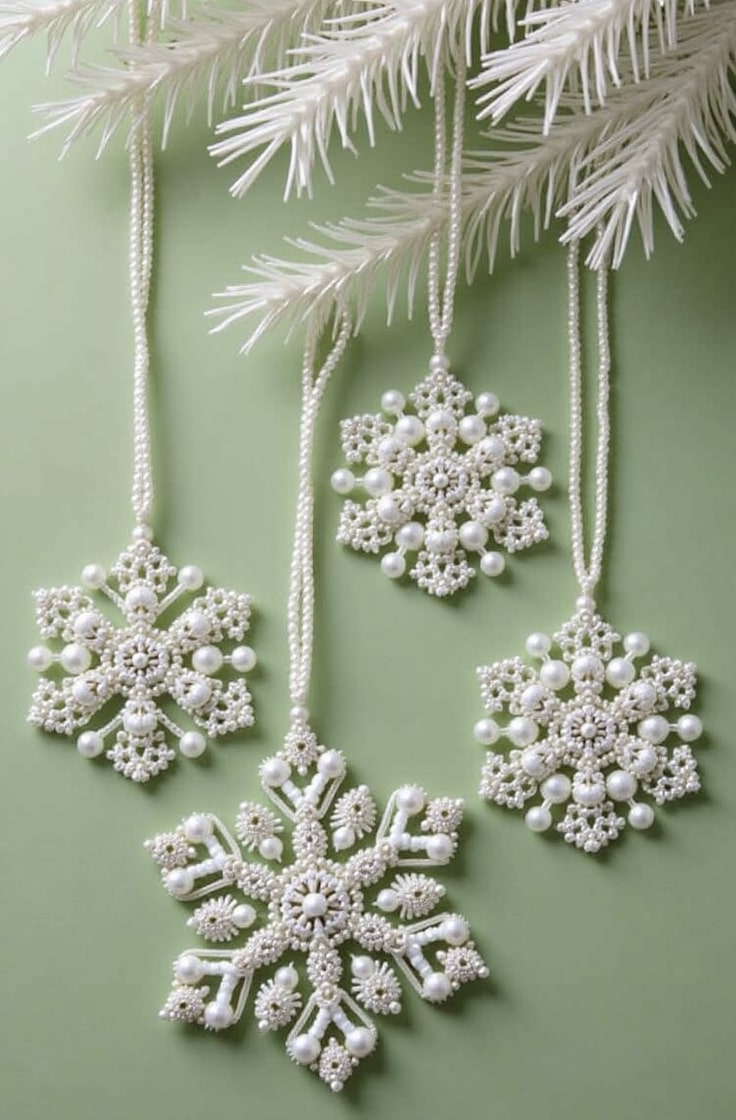
2. Paper Snowflakes

Description: Delicate snowflakes cut from paper to hang on windows or your tree. They’re a classic for a reason.
Materials: White paper, scissors.
Skill Level: Beginner to intermediate.
Instructions:
- Cut a square from a sheet of paper (8×8 inches works well).
- Fold it in half diagonally to make a triangle.
- Fold again, then fold into thirds to create a cone shape.
- Cut small shapes (triangles, circles) along the edges.
- Unfold carefully to reveal your snowflake.
- Hang with thread or tape to windows.
Tip: Try coffee filters for a softer, translucent look. Spray lightly with glitter for extra sparkle.
3. Mason Jar Snow Globes

Description: Mini snow globes made in mason jars. They’re charming on a mantel or as gifts.
Materials: Mason jars, small figurines, glycerin, glitter, water, hot glue.
Skill Level: Intermediate.
Instructions:
- Glue a small figurine (like a tree or reindeer) to the inside of the jar lid.
- Fill the jar almost to the top with water.
- Add a teaspoon of glycerin and a pinch of glitter.
- Screw the lid on tightly and shake gently.
- Seal the lid with hot glue to prevent leaks.
Tip: Use family-themed figurines, like tiny people, for a personal touch.
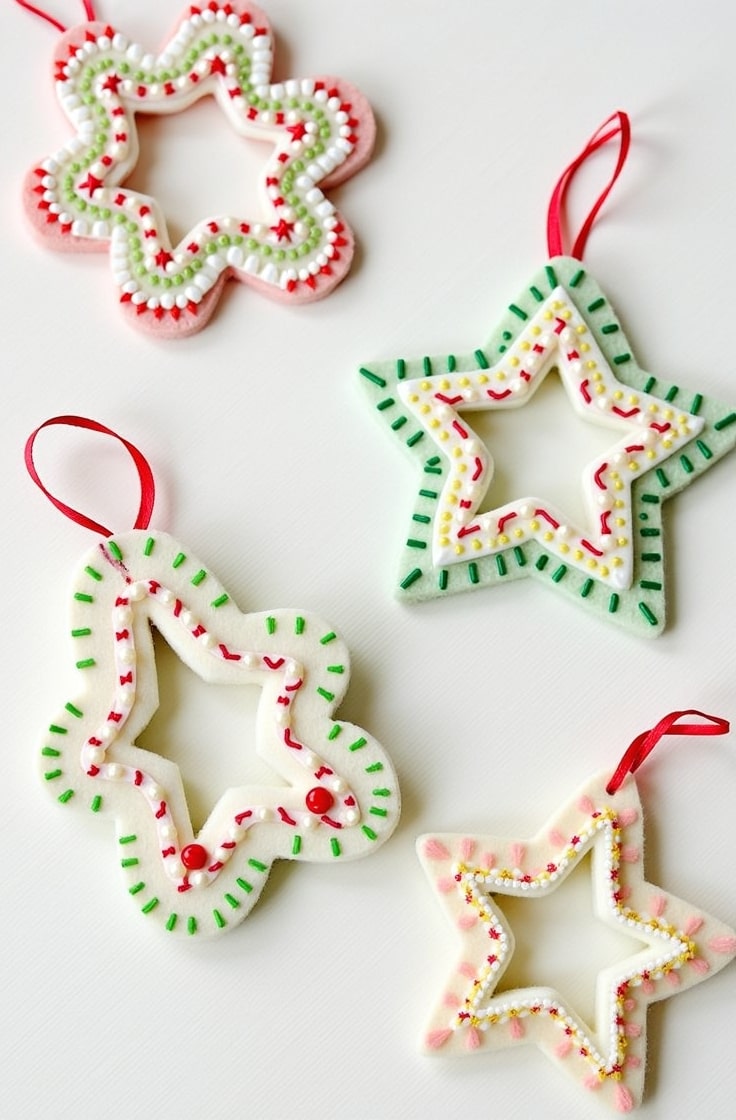
4. Felt Christmas Ornaments

Description: Cute shapes like stars or trees made from felt. You can sew or glue them.
Materials: Felt sheets, thread, stuffing, beads, needle.
Skill Level: Intermediate.
Instructions:
- Draw a shape (star, tree, heart) on paper and cut it out as a template.
- Trace the template onto felt and cut two identical shapes.
- Sew or glue the edges together, leaving a small opening.
- Stuff with cotton or fabric scraps, then close the opening.
- Add beads or embroidery for detail and a ribbon loop to hang.
Tip: Use cookie cutters as templates for perfect shapes every time.
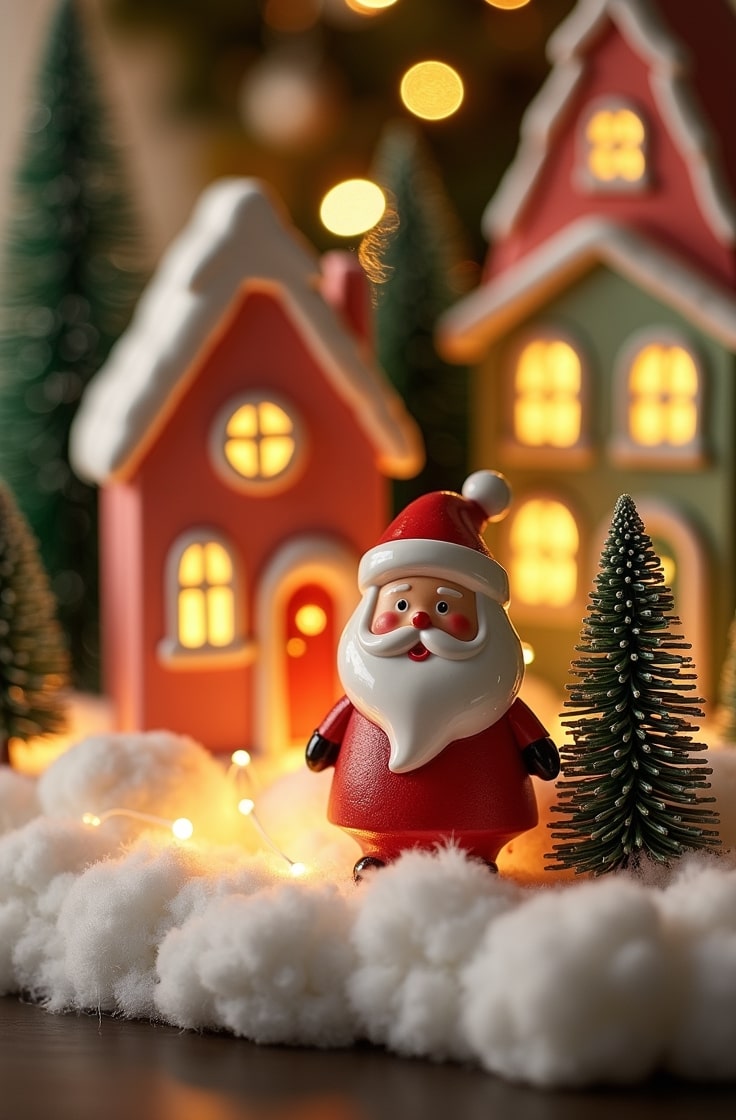
5. Twig Christmas Tree

Description: A rustic tree made from twigs, perfect for a wall or tabletop.
Materials: Twigs, twine, fairy lights, hot glue.
Skill Level: Beginner.
Instructions:
- Collect twigs of varying lengths (shortest to longest).
- Arrange them in a triangle shape, longest at the bottom.
- Tie or glue the twigs together at the sides to form a tree.
- Wrap fairy lights around the twigs.
- Hang on a wall or prop on a table.
Tip: Add mini ornaments or ribbons for extra holiday cheer.
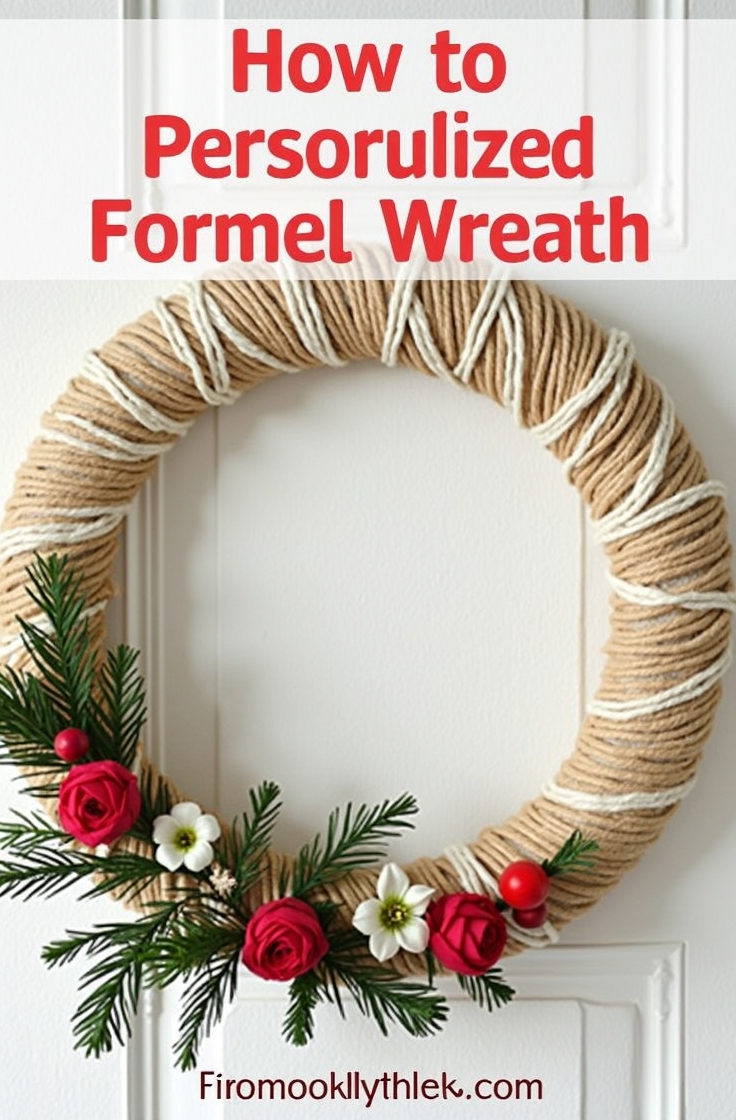
6. Yarn-Wrapped Wreath

Description: A cozy wreath made by wrapping yarn around a foam base. It’s simple but looks so warm.
Materials: Foam wreath form, yarn, ribbons, pinecones, hot glue.
Skill Level: Beginner.
Instructions:
- Secure the yarn to the foam wreath with a dab of hot glue.
- Wrap the yarn tightly around the form until it’s fully covered.
- Glue the end of the yarn in place.
- Add ribbons or pinecones for decoration.
- Hang with a loop of yarn or ribbon.
Tip: Use two yarn colors for a modern, striped effect.
7. Salt Dough Ornaments
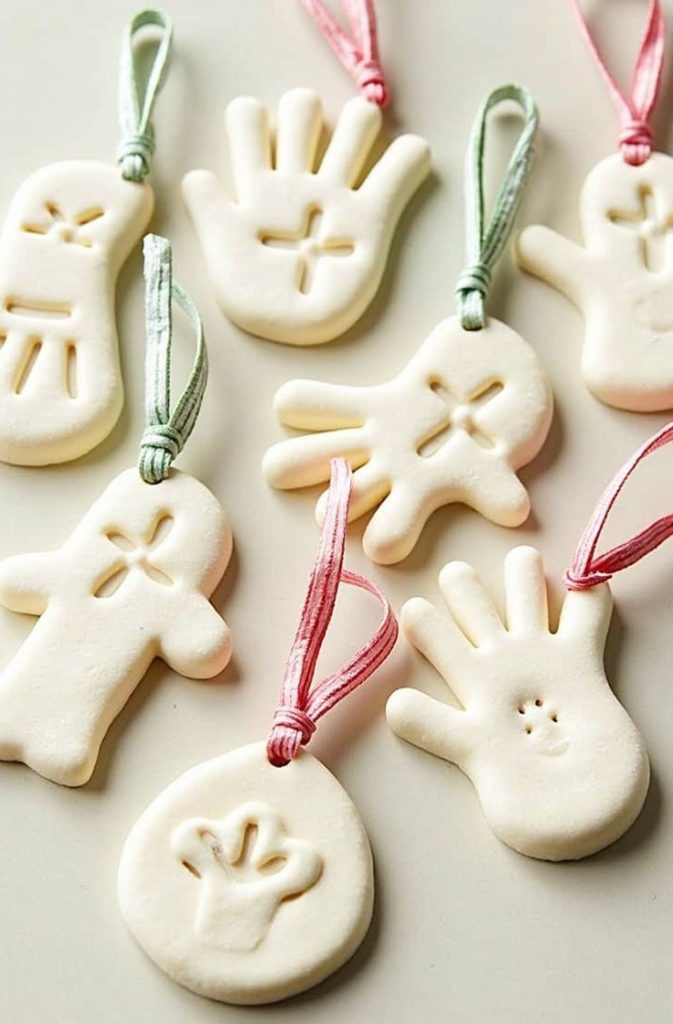
Description: Hand-shaped ornaments you bake and paint. They’re great for kids.
Materials: Flour, salt, water, acrylic paint, ribbon.
Skill Level: Beginner.
Instructions:
- Mix 1 cup flour, 1/2 cup salt, and 1/2 cup water to form dough.
- Roll out the dough and cut shapes with cookie cutters.
- Poke a hole for hanging with a straw.
- Bake at 250°F for 2 hours, then cool.
- Paint and add a ribbon through the hole.
Tip: Make handprint or footprint ornaments for sentimental keepsakes.
8. Cinnamon Stick Candles

Description: Candles wrapped with cinnamon sticks for a rustic, scented look.
Materials: Candles, cinnamon sticks, twine, hot glue.
Skill Level: Beginner.
Instructions:
- Measure cinnamon sticks to match the candle height.
- Glue sticks around the candle, covering it completely.
- Tie twine around the sticks for a finished look.
- Place on a table or mantel.
Tip: Use battery-operated candles for safety, especially with kids around.
9. Burlap Table Runner

Description: A rustic runner with stenciled holiday designs for your dining table.
Materials: Burlap, acrylic paint, stencils, scissors.
Skill Level: Intermediate.
Instructions:
- Cut burlap to your desired length and width (about 12 inches wide).
- Hem the edges with glue or stitching to prevent fraying.
- Place a stencil (like a snowflake or tree) on the burlap.
- Dab paint over the stencil with a sponge or brush.
- Let dry and place on your table.
Tip: Add lace trim along the edges for a touch of elegance.
10. Wine Cork Reindeer

Description: Adorable reindeer figures made from wine corks. Perfect for table decor.
Materials: Wine corks, twigs, googly eyes, hot glue, paint.
Skill Level: Beginner.
Instructions:
- Use one cork as the body and half a cork as the head.
- Glue the head to the body.
- Cut twigs for legs and antlers, then glue them in place.
- Add googly eyes and a small red pom-pom for a nose.
- Display on a shelf or table.
Tip: Paint the corks in bright colors for a fun, whimsical look.
11. Glittery Bottle Brush Trees

Description: Mini trees spruced up with glitter or paint for a festive touch.
Materials: Bottle brush trees, glitter, acrylic paint, glue.
Skill Level: Beginner.
Instructions:
- Buy small bottle brush trees or find them at thrift stores.
- Brush glue onto the branches.
- Sprinkle glitter or paint the trees in festive colors.
- Let dry and display on a mantel or in a group.
Tip: Cluster several trees together for a mini forest effect.
12. Fabric Scrap Garland

Description: A colorful garland made from tied fabric strips. It’s easy and cheerful.
Materials: Fabric scraps, twine, scissors.
Skill Level: Beginner.
Instructions:
- Cut fabric into strips (about 1×6 inches).
- Tie each strip onto a long piece of twine with a simple knot.
- Space the strips evenly or cluster them for a fuller look.
- Hang over a fireplace or doorway.
Tip: Use holiday-themed fabrics like red plaid or green velvet for a festive vibe.
13. Photo Frame Ornaments

Description: Mini frames with family photos to hang on your tree. They’re heartfelt and personal.
Materials: Small frames, photos, ribbon, hot glue.
Skill Level: Beginner.
Instructions:
- Choose small frames (check thrift stores for deals).
- Cut photos to fit the frames.
- Insert photos and secure with glue if needed.
- Glue a ribbon loop to the back for hanging.
- Hang on your tree or give as gifts.
Tip: Use vintage-style frames for a nostalgic, cozy feel.
14. Orange Slice Garland

Description: Dried orange slices strung into a rustic garland. It smells amazing too.
Materials: Oranges, twine, oven, needle.
Skill Level: Beginner.
Instructions:
- Slice oranges thinly (about 1/4 inch).
- Bake at 200°F for 3-4 hours, flipping halfway, until dry.
- Thread a needle with twine and string through the slices.
- Tie knots to keep slices in place.
- Hang on your tree or mantel.
Tip: Add cranberries or cinnamon sticks between slices for extra flair.
15. Popsicle Stick Snowmen
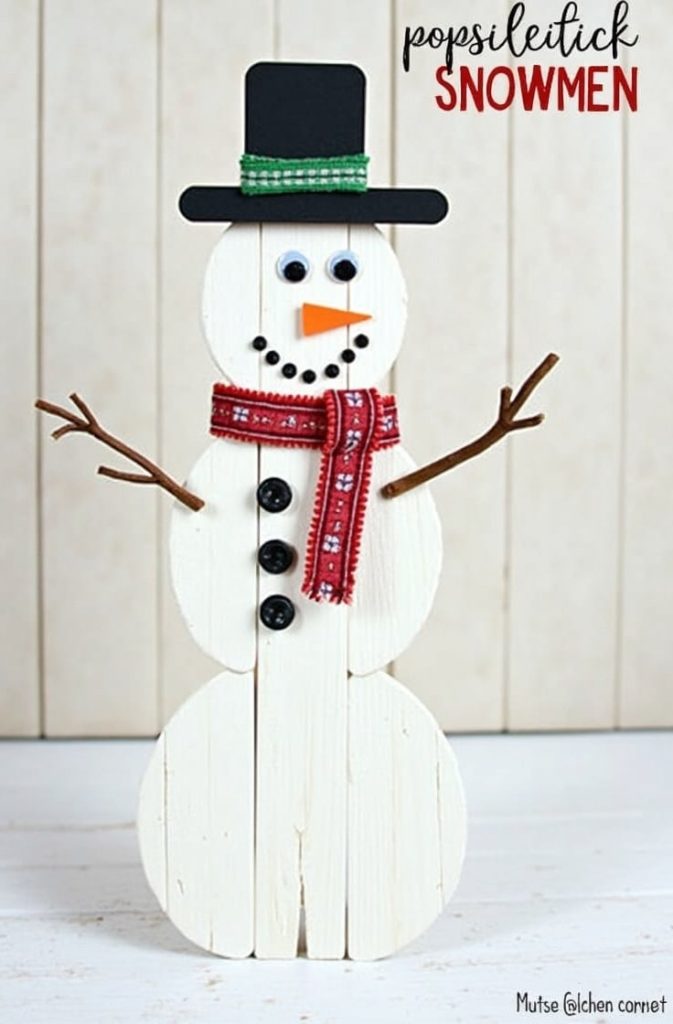
Description: Cute snowmen made from popsicle sticks. Kids love making these.
Materials: Popsicle sticks, acrylic paint, fabric scraps, glue.
Skill Level: Beginner.
Instructions:
- Glue three popsicle sticks side by side to form a body.
- Paint the sticks white and let dry.
- Paint a face and buttons with black paint.
- Glue a small fabric strip as a scarf and a paper hat on top.
- Add a ribbon loop to hang or prop up as decor.
Tip: Use tiny fabric scraps for scarves or hats to add personality.
Step-by-Step Crafting Tips
Crafting is fun, but a little prep makes it even better. Here’s how to set yourself up for success.
Planning
Gather all your materials before you start. Make a list for each project and check it twice (see what I did there?). Set up a clean workspace with good lighting. It helps to have everything within reach.
Safety
Be careful with hot glue—it burns! Keep it away from kids. Use sharp scissors with caution, and store tools safely when you’re done. If you’re painting, work in a well-ventilated area.
Customization
Make these projects your own. Swap colors to match your decor. Use different materials if you don’t have the ones listed. For example, try yarn instead of ribbon for pinecone ornaments. Get creative!
Time Management
Each project takes different amounts of time. Pinecone ornaments might take 30 minutes, while mason jar snow globes could take an hour. Plan your crafting sessions so you don’t feel rushed.
Troubleshooting
Things don’t always go perfectly, and that’s okay. If your paper snowflake tears, use thicker paper next time. Paint smudge? Wipe it off quickly with a damp cloth. Practice makes progress.
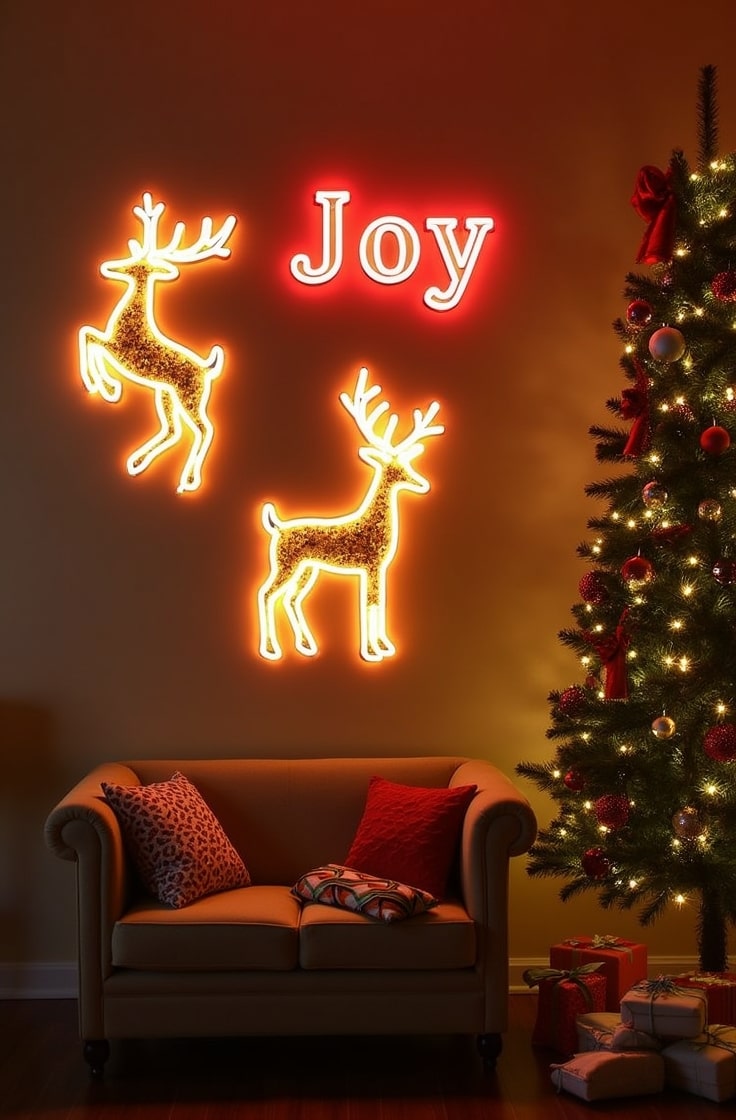
Displaying Your Decorations
You’ve made these beautiful decorations—now where do they go? Here are some ideas.
Placement Ideas
Hang pinecone ornaments and felt shapes on your tree. Place mason jar snow globes on a mantel or side table. Drape garlands over doorways or fireplaces. The twig tree looks great on a wall, and the burlap runner belongs on your dining table.
Thematic Cohesion
Pick a color scheme to tie everything together. I love red, green, and gold for a classic look, but silver and blue are stunning too. If you’re going rustic, stick with natural tones like brown and green. Mix and match your projects for a cohesive vibe.
Storage Tips
Store fragile items like salt dough ornaments in padded boxes. Wrap garlands loosely to avoid tangles. Keep everything in a dry, cool place to use again next year. Label boxes to make next season’s decorating a breeze.
Engaging the Family
Crafting is even better with loved ones. Here’s how to make it a group activity.
Kid-Friendly Projects
Kids will love paper snowflakes, popsicle stick snowmen, and pinecone ornaments. These are simple and safe for little hands. Let them paint or glue with supervision. It’s messy but so worth it.
Group Activities
Turn crafting into a party. Set up stations for different projects, like one for cutting and one for gluing. Everyone can pitch in, making it faster and more fun. Play holiday music to set the mood.
Memory-Making
Add personal touches. Use handprints in salt dough ornaments or family photos in frames. These become keepsakes you’ll treasure for years. I still have ornaments my kids made a decade ago—they’re my favorites.
Eco-Friendly and Budget Tips
You don’t need to spend a lot or harm the planet to decorate. Here’s how to keep it green and affordable.
Upcycling
Look around your home. Old jars, wine corks, or fabric scraps are perfect for these projects. That shirt you don’t wear anymore? Cut it up for garland. It’s free and reduces waste.
Natural Materials
Take a walk and gather pinecones, twigs, or acorns. They’re free and add a rustic charm. Just make sure to clean them before crafting. A quick rinse or bake does the trick.
Sustainable Practices
Choose biodegradable materials like twine or paper over plastic. Reuse decorations year after year. If you’re buying supplies, look for eco-friendly options like recycled felt or non-toxic paint.
Conclusion
There you have it—15 homemade Christmas decorations to make your holiday shine. From pinecone ornaments to orange slice garlands, these projects are fun, affordable, and full of heart.
They’ll save you money, let you express your style, and bring your family together. I hope you’re as excited as I am to start crafting. Grab your supplies, clear a table, and get started.
Share your creations with friends or on social media—I’d love to see what you make! Here’s to a cozy, handmade holiday season.

Emily Harper is a kitchen decor expert and interior designer with a passion for creating stylish, functional spaces. As a busy mom, she understands the importance of a kitchen that works for both family life and design. With 6 years of experience, Emily specializes in transforming kitchens into inviting, practical spaces. She’s known for her ability to blend trends with everyday needs, helping families create kitchens that feel like the heart of the home.