16 Spooky DIY Halloween Candles to Light Up Your Haunted Home
Last year, I made a candle that looked like it was bleeding—and it actually freaked out my neighbor’s teen (mission accomplished). That’s the magic of DIY Halloween candles.
They’re not just decorations—they set the scene. Whether you’re into subtle flickers or dramatic drips, these 16 DIY candle ideas will bring your haunted setup to life.

I’ve tested each one myself, from creepy skull molds to pool noodle lanterns that cost almost nothing but look store-bought.
And don’t worry—I’ll walk you through the steps, share what worked (and what didn’t), and give a few safety reminders along the way.
Grab your glue gun and let’s get spooky—because eerie lighting makes everything better.
Table of Contents
- Materials and Tools Overview
- 16 DIY Halloween Candle Projects
- 1. Spooky Skull Candles
- 2. Pumpkin Glow Candles
- 3. Ghostly Floating Candles
- 4. Black Cat Silhouette Candles
- 5. Bloody Drip Candles
- 6. Witch’s Cauldron Candles
- 7. Spider Web Lace Candles
- 8. Haunted House Glow
- 9. Candy Corn Layered Candles
- 10. Vampire Fang Candles
- 11. Glowing Eyeball Candles
- 12. Potion Bottle Candles
- 13. Graveyard Moss Candles
- 14. Pool Noodle Drip Candles
- 15. Paper Towel Roll Spooky Candles
- 16. Dollar Tree Candlestick Skull Holders
- Step-by-Step General Candle-Making Guide
- Customization and Decoration Ideas
- Safety and Care
- Conclusion
Materials and Tools Overview
Before starting the projects, here’s what you’ll need.
Materials: Wax, wicks, molds, dyes, essential oils, and Halloween extras like skull molds, glow pigments, and plastic spiders.
Budget items: Pool noodles, paper towel rolls, and candlestick holders—most can be found at Dollar Tree or thrift stores. Battery-operated tea lights and glass vials are also great cheap finds.
Tools: A double boiler (or pot with heat-safe bowl), thermometer for wax, hot glue gun for effects, utility knife for cutting, and scissors for trimming wicks.
16 DIY Halloween Candle Projects
1. Spooky Skull Candles

I love how skull candles scream gothic Halloween vibes. Grab some skull molds from Dollar Tree—they’re super affordable. You’ll need white wax, black dye for accents, wicks, and a double boiler. Melt the wax to about 185°F, pour it into the molds, and carefully place the wick in the center. Let it cool for a few hours, then pop the candles out. For a creepy twist, drip red wax over the top for a “bloody” effect. This project is intermediate, so take your time with the molds. The result? A chilling centerpiece for your Halloween table.
2. Pumpkin Glow Candles

Nothing says Halloween like pumpkins! These pumpkin glow candles are perfect for beginners. Pick up orange wax and small pumpkin molds from Dollar Tree. Add a few drops of cinnamon essential oil for that cozy fall scent. Melt the wax, mix in the oil, and pour it into the molds. Center the wick with a holder or tape. Once cooled, you can carve tiny jack-o’-lantern faces with a craft knife for extra charm. These little glowers are perfect for scattering around your porch or mantle.
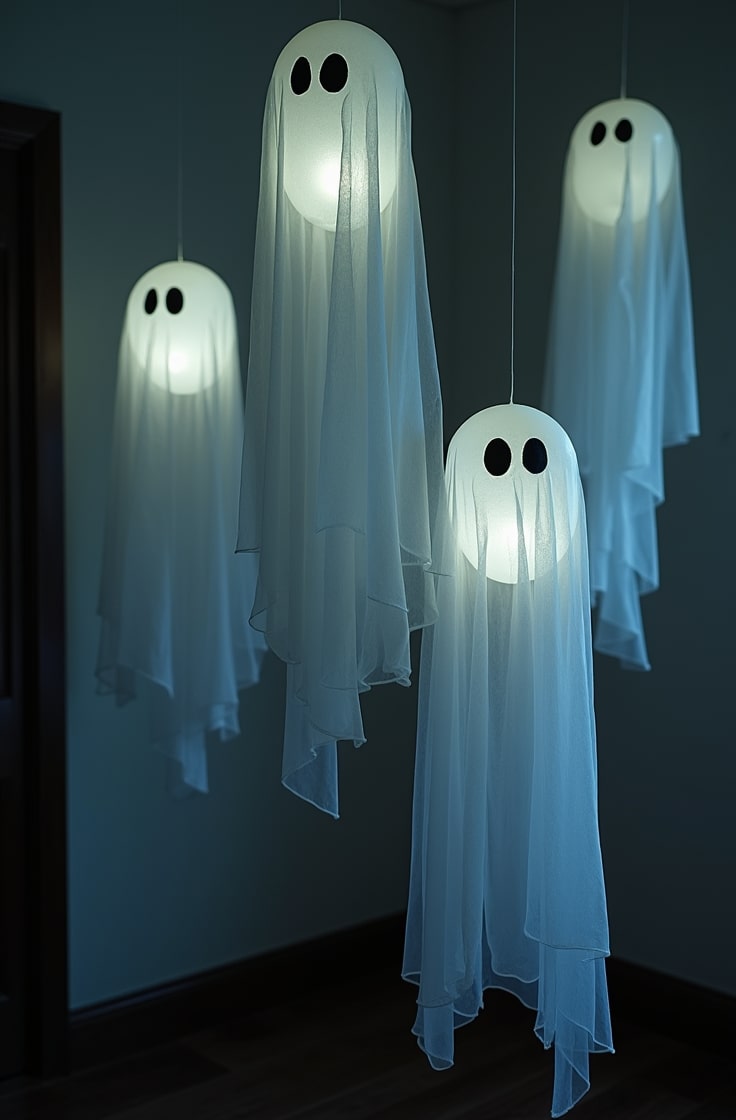
3. Ghostly Floating Candles

Ever dreamed of recreating those floating candles from a certain wizarding world? This advanced project is for you. Use beeswax and small round molds to create lightweight discs. Melt the wax, pour it into molds, and add wicks. Once cooled, thread fishing line through the tops to hang them. For an eerie glow, mix in glow-in-the-dark wax. Suspend these from your ceiling with clear tape for a haunting effect. It’s a bit tricky, but the magical vibe is worth it!
4. Black Cat Silhouette Candles

Black cats are Halloween icons, and these silhouette candles are so cool. You’ll need black and white wax, plus cat-shaped cookie cutters. Pour white wax into a mold to form the base candle. Once it’s set, melt black wax and pour it into a thin sheet. Use the cookie cutter to create cat shapes, then press them onto the white candle’s surface. Add a sprinkle of glitter for sparkling cat eyes. This intermediate project is a fun way to play with layers and textures.
5. Bloody Drip Candles

These bloody drip candles are creepy and beginner-friendly. Grab white pillar candles from Dollar Tree and some red wax. Melt the red wax in a small pot, then carefully drizzle it over the white candles to mimic blood dripping down. Play with different drip patterns for unique looks—some long, some short. It’s so easy, you’ll have a whole batch ready in no time. Place these on a spooky candelabra for maximum effect.
6. Witch’s Cauldron Candles

Let’s brew some magic with witch’s cauldron candles! Find black cauldron molds at Dollar Tree and grab green wax for that potion-like glow. For a bubbling effect, place bubble wrap in the mold before pouring the wax. Add the wick, let it cool, and remove the bubble wrap for a textured surface. Want to up the witchy vibe? Tuck in some cotton wisps for a “smoke” effect. This intermediate project is perfect for a witch-themed Halloween party.
7. Spider Web Lace Candles

These spider web lace candles are so elegant yet spooky. You’ll need white wax, black lace from Dollar Tree, and pillar molds. Wrap the lace tightly around the mold’s interior, pour in the melted wax, and let it cool. Carefully peel off the lace to reveal a delicate web pattern. For a glowing twist, use lace with glow-in-the-dark thread. This beginner project is quick and makes stunning table decor. Pair with plastic spiders for extra creepiness.
8. Haunted House Glow

Haunted house candles are a showstopper for advanced crafters. Use house-shaped molds and yellow wax for glowing windows. Pour a thin layer of yellow wax into the window areas first, let it set, then fill the mold with dark wax (like black or gray) for the house. Place the wick carefully. Add black wax details for the roof or chimney. These candles create a spooky silhouette when lit, perfect for a haunted village display.
9. Candy Corn Layered Candles

Candy corn lovers, this one’s for you! These beginner-friendly candles mimic the classic treat’s colors. You’ll need white, orange, and yellow wax, plus tall molds. Melt and pour the white wax first, let it cool slightly, then add orange, and finally yellow. Center the wick through all layers. For extra fun, add a candy corn scent with essential oils. These sweet candles are perfect for a playful Halloween vibe.
10. Vampire Fang Candles

Sink your teeth into these vampire fang candles! Grab fang-shaped molds, white wax, and red dye. Pour the white wax into the molds and add the wick. Once cooled, dip the fang tips in melted red wax for a bloody effect. This intermediate project lets you add a metallic sheen with craft paint for a gothic touch. Display these in pairs for a vampire-themed centerpiece that’s sure to bite.
11. Glowing Eyeball Candles

Creepy eyeball candles are a must for Halloween! Use spherical molds, white wax, and colored dyes for the iris and pupil. Pour a small amount of colored wax for the pupil, let it set, then add a ring of blue or green for the iris. Finish with white wax and the wick. For a glowing effect, use UV-reactive dyes. This advanced project creates eerie eyeballs that seem to stare back—perfect for a haunted house setup.
12. Potion Bottle Candles

These potion bottle candles are magical and beginner-friendly. Grab small glass vials from Dollar Tree, colored wax, and cork stoppers. Melt the wax, pour it into the vials, and insert the wick. Seal with a cork once cooled. Add handwritten “potion” labels (like “Witch’s Brew” or “Vampire Essence”) for charm. These are great for gifting or lining up on a spooky apothecary shelf.
13. Graveyard Moss Candles

For a creepy graveyard vibe, try these moss candles. Use green wax, textured molds, and dried herbs like oregano for a mossy look. Mix the herbs into the melted wax, pour into molds, and add the wick. Embed tiny tombstone shapes (made from clay or cut wax) for extra detail. This intermediate project creates candles that look like they’re straight from a haunted cemetery. Display them with fog effects for maximum spookiness.
14. Pool Noodle Drip Candles

Who knew pool noodles could be so spooky? These budget-friendly candles are a beginner’s dream. Grab pool noodles from Dollar Tree, black spray paint, hot glue, and battery-operated tea lights. Cut the noodles to different lengths with a utility knife. Hollow out the top to fit a tea light. Drip hot glue down the sides for a melted wax effect, then spray paint black. Pop in the tea light. For an aged look, add gray spray paint. These are safe, reusable, and perfect for outdoor displays.
15. Paper Towel Roll Spooky Candles

Upcycle those paper towel rolls into creepy candles! You’ll need paper towel rolls, black spray paint, hot glue, and Dollar Tree battery-operated tea lights. Cut the rolls to various lengths, apply hot glue drips for texture, and spray paint black. Place a tea light on top. Add faux moss or tiny plastic spiders from Dollar Tree for extra flair. This beginner project is eco-friendly and super affordable. Line them up along your walkway for a haunted glow.
16. Dollar Tree Candlestick Skull Holders

These candlestick skull holders are a creepy masterpiece. Grab plastic skulls, battery-operated candles, and candlestick holders from Dollar Tree, plus spray paint and strong adhesive. Glue the candle to the candlestick holder, then place the skull over the candle, gluing it to the holder’s base. Spray paint the whole piece black or metallic (gold looks vintage!). This beginner project creates a gothic vibe. Add faux cobwebs for extra spook. Display on a dining table for a haunted mansion feel.
Step-by-Step General Candle-Making Guide
Basic Process
- Melt the wax in a double boiler.
- Heat to 185°F for paraffin or 170°F for beeswax.
- Use a thermometer to monitor the temperature.
- Heat to 185°F for paraffin or 170°F for beeswax.
- Add scent and color (optional).
- Use about 10 drops of essential oil per cup of wax.
- Add candle dye if desired.
- Stir gently to mix.
- Use about 10 drops of essential oil per cup of wax.
- Prepare the mold or base.
- Center the wick using a holder or tape.
- If using pool noodles or paper towel rolls, make sure tea lights fit tightly.
- Center the wick using a holder or tape.
- Pour the wax slowly.
- Helps avoid air bubbles.
- Let it cool at room temperature—don’t rush it, or cracks can form.
- Helps avoid air bubbles.
- For faux candle projects (like pool noodles):
- Drip hot glue around the edges for a melted look.
- Once dry, paint as desired.
- Drip hot glue around the edges for a melted look.
- Finishing touches:
- Trim wicks to ¼ inch.
- Wipe molds or bases clean for a neat look.
- Trim wicks to ¼ inch.
Customization and Decoration Ideas
Make your candles uniquely yours! For scents, try Halloween-inspired options like pumpkin spice, cedarwood, or blood orange.
Stick to classic Halloween colors—orange, black, purple, green—or go metallic for candlestick holders. Add glitter, plastic spiders from Dollar Tree, or painted details like bats or ghosts.
For pool noodle and paper towel candles, glue on faux moss or small trinkets. For gifting, wrap candles in black tissue paper with spooky tags.
You can also display them on vintage trays or in glass jars for a polished look. Get creative—your candles should reflect your Halloween spirit!
Safety and Care
Safety is key when crafting candles. For pool noodle and paper towel roll projects, stick to battery-operated tea lights to avoid fire risks.
Never leave lit candles unattended, and keep them away from flammable decor. When handling wax, wear gloves and avoid overheating (above 200°F can ignite). For kids, supervise closely and use low-heat glue guns or LED candles.
Store candles in a cool, dry place to prevent melting. If using spray paint on pool noodles, work in a well-ventilated area and keep paint away from tea light flames.
Conclusion
That’s it—16 DIY Halloween candle ideas you can make on any budget or skill level. From skull molds to pool noodle hacks, these projects are simple, creative, and perfect for the season. Grab your supplies, repurpose what you have, and start crafting. Want more ideas? Check out Pinterest or Dollar Tree craft blogs.

Emily Harper is a kitchen decor expert and interior designer with a passion for creating stylish, functional spaces. As a busy mom, she understands the importance of a kitchen that works for both family life and design. With 6 years of experience, Emily specializes in transforming kitchens into inviting, practical spaces. She’s known for her ability to blend trends with everyday needs, helping families create kitchens that feel like the heart of the home.