13 Budget-Friendly Halloween Decorations That Wow
Halloween doesn’t have to drain your wallet to look spooky and stylish. With a little creativity, you can turn everyday items into festive decorations that wow your guests.
From repurposed jars to dollar store finds, budget-friendly pieces can bring just as much charm as expensive store-bought décor.

The trick is knowing how to use simple materials in smart ways—whether it’s crafting eerie lanterns, DIY wall art, or haunting table setups.
As a DIY decorator, I’ve learned that the best Halloween looks often come from affordable hacks. Stick with me, and I’ll show you how to create a spooky atmosphere without overspending.
Ready to transform your space on a budget? Let’s dive into the best cheap Halloween decoration ideas.
Table of Contents
- Why Choose Cheap Halloween Decorations?
- Materials and Tools Needed
- 13 Cheap Halloween Decoration Ideas
- 1. DIY Paper Bat Garland
- 2. Ghostly Mason Jar Lanterns
- 3. Cardboard Tombstones
- 4. Spider Web Doorway
- 5. Pumpkin Paper Lanterns
- 6. Bloody Handprint Window Clings
- 7. Recycled Bottle Potion Jars
- 8. Cheesecloth Ghosts
- 9. Creepy Candle Holders
- 10. Skeleton Silhouette Wall Art
- 11. Witch Hat Hanging Decor
- 12. Glowing Eyes in Bushes
- 13. DIY Spider Egg Sacs
- Tips for Maximizing Impact
- Budget Breakdown
- Conclusion
Why Choose Cheap Halloween Decorations?
Halloween is all about fun, creativity, and a little scare, but it doesn’t have to drain your wallet. Affordable decorations let you celebrate without stress. You can transform your space with items you already own or pick up for a few bucks.
Plus, making your own decorations is a great way to get the whole family involved or spend a cozy evening crafting with friends.
Another perk? Many of these ideas use recycled or repurposed materials, which is good for the planet. You’re not just saving money—you’re keeping things sustainable.
And let’s be honest: there’s something so satisfying about turning everyday items into spooky masterpieces. These projects work for any space, big or small, indoors or out.
Whether you’ve got a sprawling front yard or a tiny apartment, you’ll find ideas here that fit your needs.
Materials and Tools Needed
Before we jump into the projects, let’s talk about what you’ll need. Most of these decorations use things you likely have lying around.
Think paper, cardboard, old jars, or even empty toilet paper rolls. If you need to buy anything, dollar stores are your best friend. You can find construction paper, paint, yarn, and LED candles for next to nothing.
Here’s a quick rundown of common items you’ll use:
- Paper and Cardboard: Construction paper, old boxes, or cereal boxes work great.
- Old Clothes or Fabric: Cheesecloth, felt, or old stockings can become spooky props.
- Jars and Bottles: Save those empty mason jars or soda bottles for creepy creations.
- Basic Craft Supplies: Scissors, glue, tape, markers, and string are all you need for most projects.
- Cheap Extras: LED tea lights, glow sticks, or paint from dollar stores add flair without breaking the bank.
Pro tip: Check thrift stores or online marketplaces for deals on craft supplies. You might even find free cardboard boxes at local stores. Keep your eyes peeled for deals, and you’ll be ready to craft in no time.
13 Cheap Halloween Decoration Ideas
Now, let’s get to the good stuff! Below are 13 decoration ideas, each with a description, materials, estimated cost, and simple steps. I’ve kept everything budget-friendly and easy to follow, so you can start creating right away.
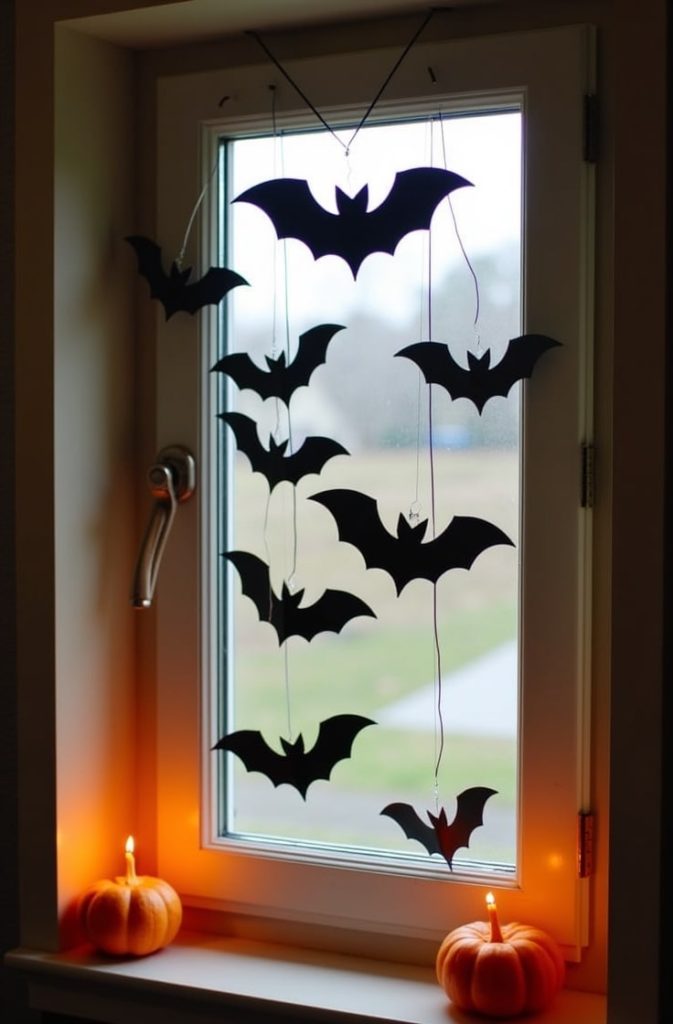
1. DIY Paper Bat Garland

Want a quick way to add spooky vibes to your windows or doorways? A paper bat garland is perfect. It’s cute, creepy, and super cheap to make.
- Materials: Black construction paper, string, scissors, tape.
- Estimated Cost: Under $2 (grab paper and string at the dollar store or use what you have).
- Instructions:
- Fold black construction paper in half. Draw a bat shape (think half a bat with one wing).
- Cut out the bat, keeping the fold intact so the wings mirror each other.
- For a 3D effect, fold the wings slightly upward.
- Tape or glue the bats to a long piece of string, spacing them a few inches apart.
- Hang your garland across a window, doorway, or mantle.
This project takes about 20 minutes and looks amazing when the light hits those flapping bats.
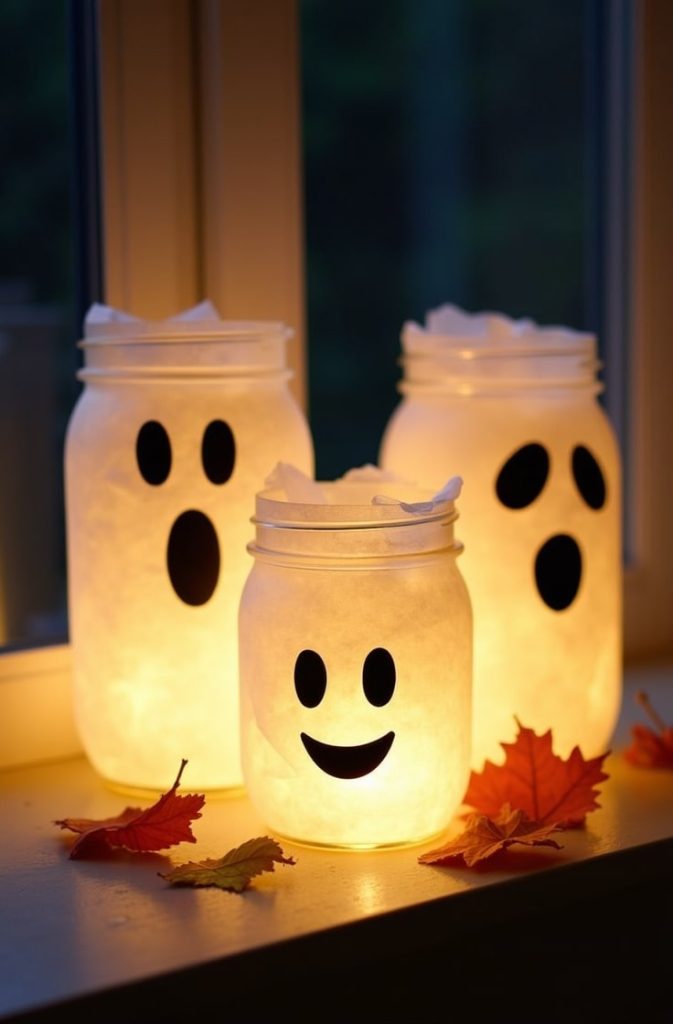
2. Ghostly Mason Jar Lanterns

Nothing says Halloween like glowing ghosts. These mason jar lanterns are adorable and give off an eerie glow that’s perfect for your porch or living room.
- Materials: Mason jars (or any glass jars), white tissue paper, LED tea lights, black marker.
- Estimated Cost: $3–5 (jars and lights are cheap at dollar stores).
- Instructions:
- Clean and dry your mason jars.
- Cut white tissue paper to fit around each jar. Wrap it tightly and tape or glue it in place.
- Draw ghost faces (two eyes and a wobbly mouth) with a black marker.
- Place an LED tea light inside each jar.
- Set them on a table, porch, or windowsill for a spooky glow.
These lanterns are safe (thanks to LED lights) and reusable year after year.
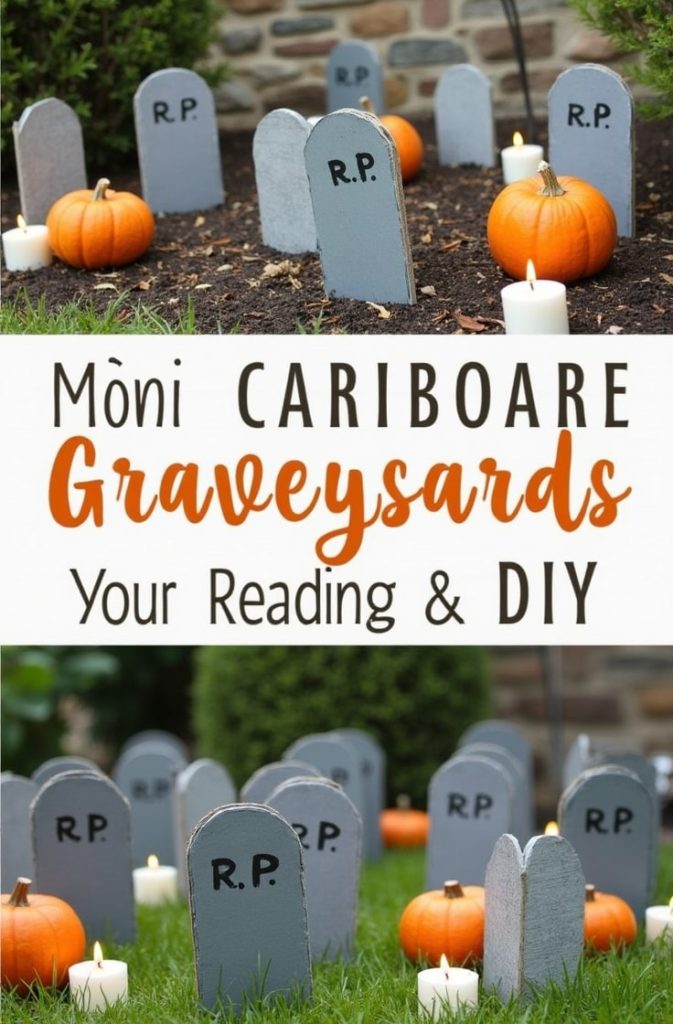
3. Cardboard Tombstones
Turn your yard or living room into a creepy graveyard with cardboard tombstones. They’re easy to make and look scarily realistic.
- Materials: Cardboard boxes, gray paint, black marker.
- Estimated Cost: $1–3 (paint from dollar stores; use old boxes).
- Instructions:
- Cut tombstone shapes from cardboard (think rounded or cross-shaped tops).
- Paint the cardboard gray. Let it dry completely.
- Use a black marker to write spooky epitaphs like “R.I.P. Here Lies Bob” or “Gone Too Soon.”
- Prop them up in your yard with stakes or lean them against furniture indoors.
These are perfect for setting a haunted scene, and kids love helping with the epitaphs.
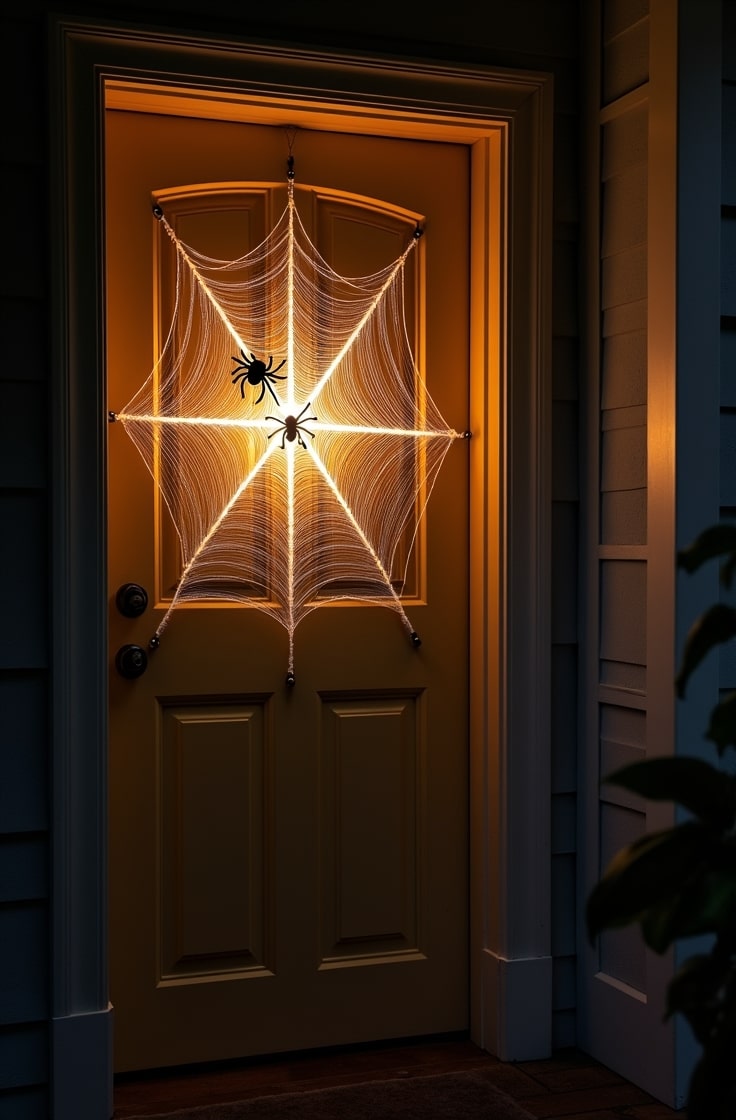
4. Spider Web Doorway

A yarn spider web draped over your doorway or in a corner adds instant creepiness. Bonus points if you toss in some plastic spiders!
- Materials: White or black yarn, tape, plastic spiders (optional).
- Estimated Cost: $2–4 (yarn and spiders from dollar stores).
- Instructions:
- Cut several long pieces of yarn (3–5 feet, depending on your space).
- Tape the yarn in a star pattern across a doorway or corner to form the web’s “spokes.”
- Weave more yarn in circles around the spokes to create a web pattern.
- Secure loose ends with tape.
- Add plastic spiders for extra spookiness.
This web looks amazing in low light and takes less than 30 minutes to make.
5. Pumpkin Paper Lanterns

Jack-o’-lanterns don’t need to be carved from pumpkins. These paper bag lanterns are cheap, safe, and just as festive.
- Materials: Brown paper bags, orange paint, LED candles, scissors.
- Estimated Cost: $3–5 (bags and lights from dollar stores).
- Instructions:
- Paint the outside of brown paper bags with orange paint. Let them dry.
- Cut out jack-o’-lantern faces (eyes, nose, mouth) with scissors.
- Place an LED candle inside each bag.
- Set the bags on a flat surface or hang them with string.
These lanterns are great for lining a walkway or decorating a party table.
6. Bloody Handprint Window Clings
Want to give your neighbors a fright? These bloody handprints on your windows look eerie but are super simple to make.
- Materials: Red food coloring, corn syrup, plastic wrap.
- Estimated Cost: $2 (using kitchen staples).
- Instructions:
- Mix red food coloring with corn syrup to make a thick, blood-like paste.
- Dip your hand in the mixture and press it onto a sheet of plastic wrap.
- Let the handprints dry slightly (they should stay sticky).
- Press the plastic wrap onto your windows, handprint side out.
These clings are creepy and wash off easily when Halloween’s over.
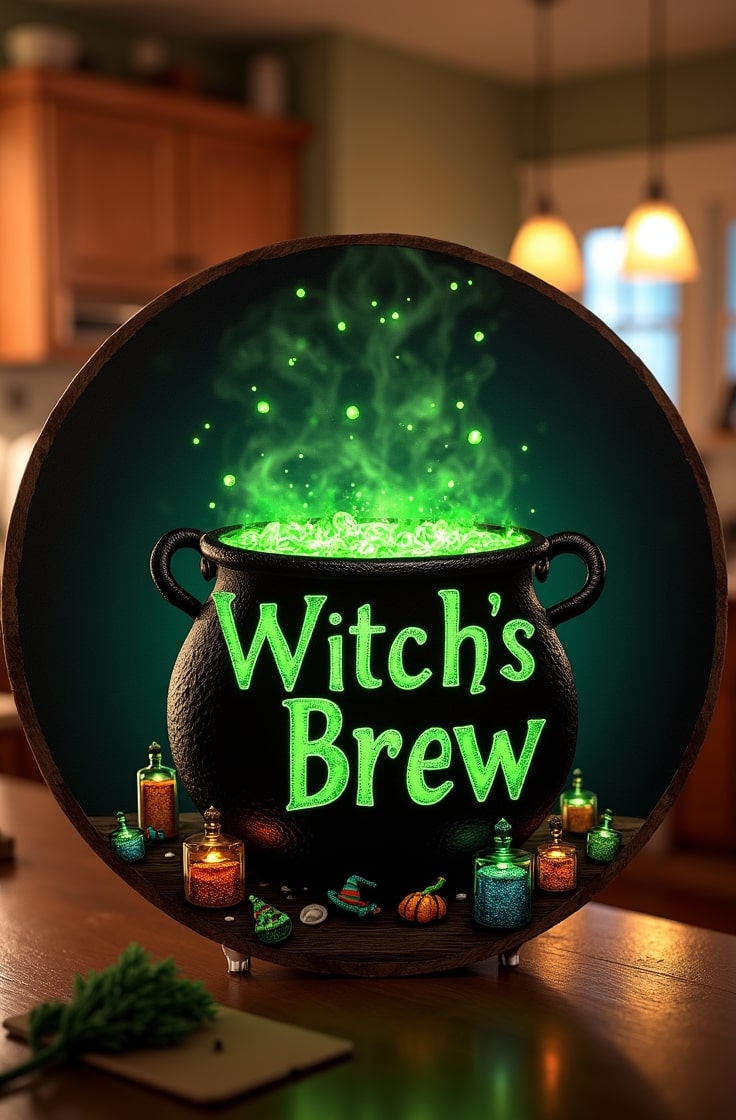
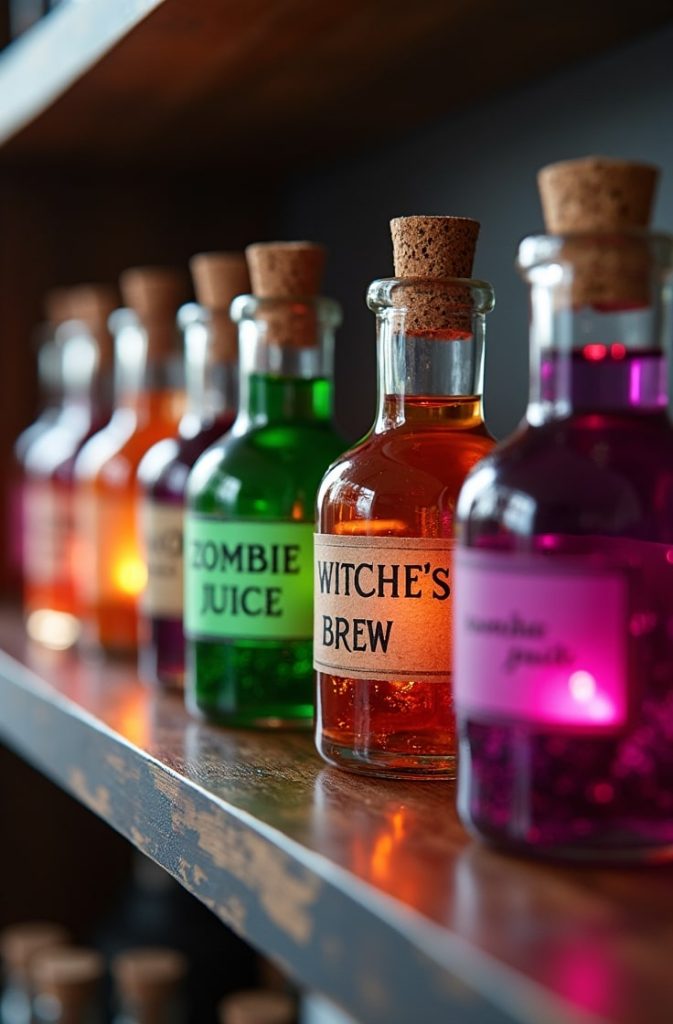
7. Recycled Bottle Potion Jars

Turn empty bottles into mysterious potion jars for your shelves or table. They’re perfect for a witchy vibe.
- Materials: Empty glass bottles, food coloring, water, paper, and marker for labels.
- Estimated Cost: $0–2 (using recycled bottles).
- Instructions:
- Clean and dry empty glass bottles (soda bottles, jars, etc.).
- Fill each bottle with water and a few drops of food coloring (green, purple, or red work great).
- Cut paper into small rectangles for labels. Write creepy names like “Witch’s Brew” or “Zombie Juice.”
- Glue or tape the labels to the bottles.
- Display them on a shelf or table.
These jars add a magical touch and cost almost nothing.
8. Cheesecloth Ghosts
These floating ghosts are adorable and spooky, perfect for hanging from ceilings or placing on tables.
- Materials: Cheesecloth, balloons, liquid starch, black felt.
- Estimated Cost: $4–6 (cheesecloth and starch from dollar stores).
- Instructions:
- Blow up small balloons (about the size of a grapefruit).
- Cut cheesecloth into squares (about 2 feet by 2 feet).
- Soak the cheesecloth in liquid starch, then drape it over the balloons.
- Let the cheesecloth dry completely (24 hours). Pop the balloons.
- Glue small black felt circles for eyes.
Hang these ghosts with string or set them on tables for a haunting effect.
9. Creepy Candle Holders

Turn toilet paper rolls into gothic candle holders. They’re cheap, easy, and look great with LED candles.
- Materials: Toilet paper rolls, black paint, LED candles.
- Estimated Cost: $2–3 (using household rolls and dollar store candles).
- Instructions:
- Paint toilet paper rolls black. Let them dry.
- Cut out spooky designs like bats, skulls, or stars with scissors.
- Place an LED candle inside each roll.
- Set them on a table or windowsill.
These holders create a warm, eerie glow and take just 15 minutes to make.
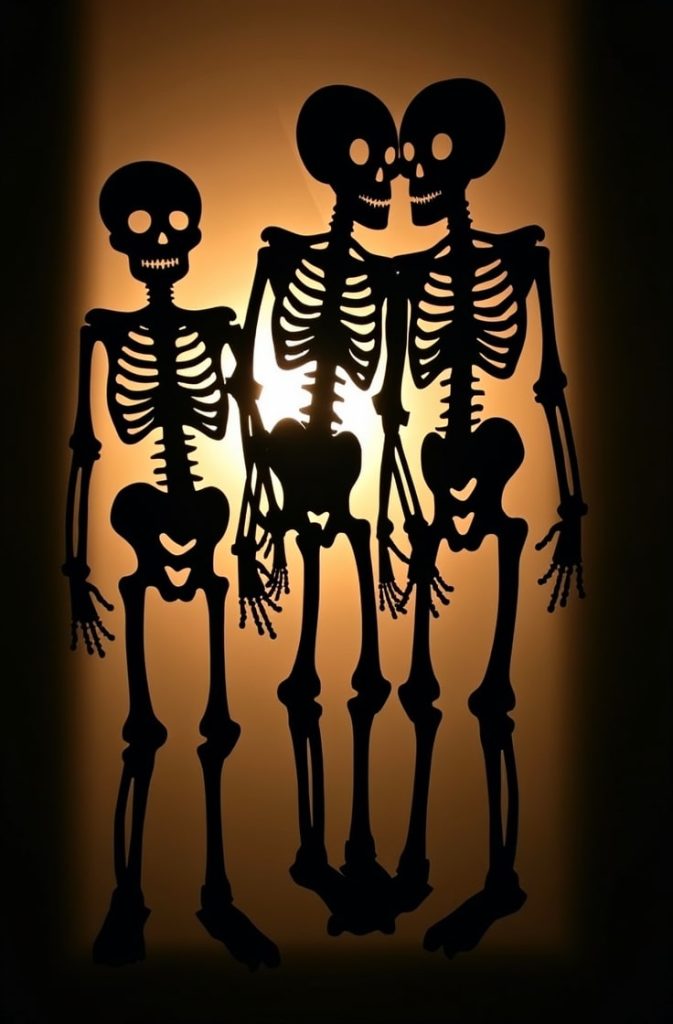
10. Skeleton Silhouette Wall Art

Simple skeleton cutouts add a creepy touch to your walls or windows. They’re quick to make and super affordable.
- Materials: Black construction paper, scissors, tape.
- Estimated Cost: Under $2 (paper from dollar stores).
- Instructions:
- Draw skeleton shapes on black construction paper (think skulls, bones, or full skeletons).
- Cut out the shapes carefully.
- Tape the silhouettes to walls or windows.
These look especially spooky when backlit by a window or lamp.
11. Witch Hat Hanging Decor
Mini witch hats hanging from your ceiling or chandelier add a playful, magical vibe to your Halloween setup.
- Materials: Black felt, cardboard, string, glue.
- Estimated Cost: $3–5 (felt and glue from dollar stores).
- Instructions:
- Cut a circle from cardboard for the hat’s brim.
- Cut a cone shape from black felt for the hat’s top. Glue it to the brim.
- Add a small strip of felt around the base of the cone for detail.
- Attach a string to the top and hang from ceilings or light fixtures.
These hats are cute and take about 30 minutes to make a set.
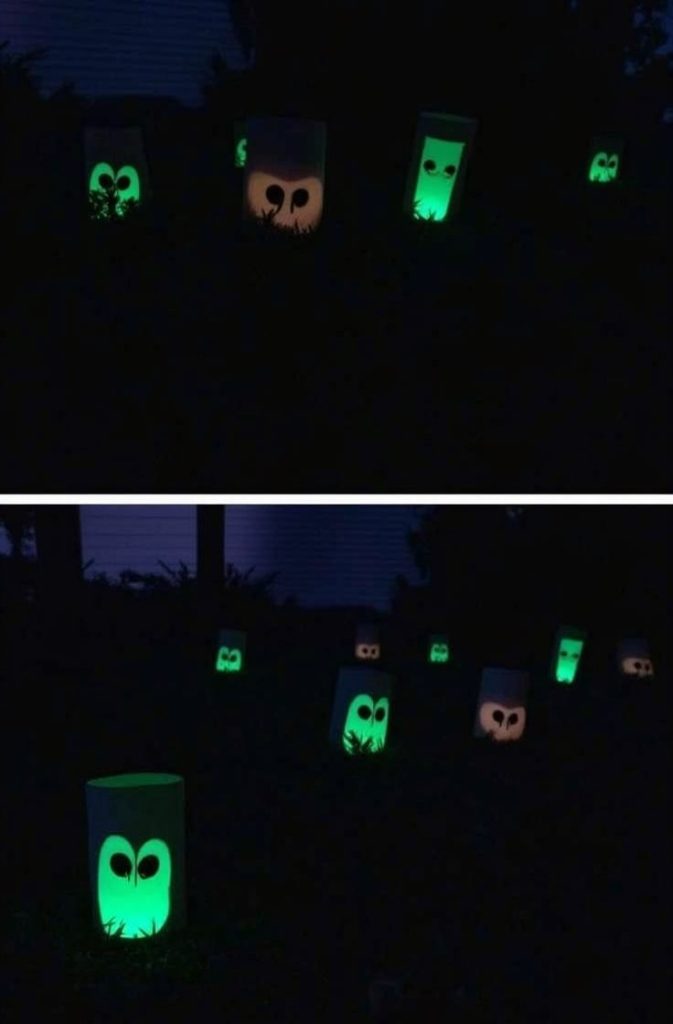
12. Glowing Eyes in Bushes
Creepy glowing eyes peeking from bushes or trees will give trick-or-treaters a thrill. This one’s a crowd-pleaser!
- Materials: Toilet paper rolls, glow sticks, black paint.
- Estimated Cost: $3–5 (glow sticks from dollar stores).
- Instructions:
- Paint toilet paper rolls black. Let them dry.
- Cut out eye shapes (slits or ovals) on one side of each roll.
- Place a glow stick inside each roll.
- Hide the rolls in bushes or trees, with the eyes facing out.
Activate the glow sticks right before Halloween night for maximum effect.
13. DIY Spider Egg Sacs
These creepy egg sacs are perfect for hanging in corners or doorways. They’re gross in the best way!
- Materials: White balloons, cotton balls, white stockings, string.
- Estimated Cost: $4–6 (stockings and balloons from dollar stores).
- Instructions:
- Blow up small white balloons (not too big).
- Stuff a few cotton balls into a white stocking to create a lumpy look.
- Stretch the stocking over the balloon and tie it off.
- Hang the egg sacs with string in corners or doorways.
These sacs look creepy dangling in low light and are so easy to make.
Tips for Maximizing Impact
Now that you’ve got your decorations, let’s make them shine. Place tombstones in your front yard or near a window for passersby to see.
Hang garlands and egg sacs in doorways where guests will walk through. Group lanterns and potion jars on tables for a witchy display. Mix and match—like pairing tombstones with glowing eyes—for a full haunted scene.
Lighting is key. Use LED candles or string lights to create eerie glows. They’re safe and reusable, unlike real candles. For outdoor decorations, secure everything with tape or stakes so they don’t blow away. Always double-check that your setup is fire-safe, especially with kids or pets around.
Budget Breakdown
Let’s talk money. If you source materials from dollar stores and use household items, you can make all 13 decorations for about $30–50. That’s less than $4 per project! To save even more, buy paint or yarn in bulk and reuse materials across projects. For example, black construction paper works for both bats and skeletons.
Time-wise, most of these projects take 30 minutes to an hour. You can knock out a few in an afternoon or spread them over a weekend. They’re perfect for a craft night with friends or family.
Conclusion
There you have it—13 cheap, easy, and spooky Halloween decorations to make your space festive.
From paper bats to glowing eyes, these projects prove you don’t need a big budget to have fun. They’re perfect for getting creative, saving money, and making memories with friends or family.
So grab some cardboard, paint, and LED lights, and start crafting. Halloween is all about embracing the spooky spirit, and with these ideas, you’re ready to make it unforgettable. Happy haunting!

Emily Harper is a kitchen decor expert and interior designer with a passion for creating stylish, functional spaces. As a busy mom, she understands the importance of a kitchen that works for both family life and design. With 6 years of experience, Emily specializes in transforming kitchens into inviting, practical spaces. She’s known for her ability to blend trends with everyday needs, helping families create kitchens that feel like the heart of the home.