Kitchen Large Wall Shelving Ideas: 7 Zone-Based Projects You Can Actually Finish
I moved into my kitchen and froze. One wall stood empty. It was long. It was blank. It stared back at me for three months.
I tried one shelf. It looked lonely. I tried two shelves stacked close together. It looked cluttered. Nothing felt right.
Then I stopped thinking about “shelves.” I started thinking about zones. I split that wall into three parts. Each part got a job. The wall finally made sense.
That’s what I’m handing you today. Not random ideas. A system. Seven complete projects, built around three zones, so your big wall stops looking empty and starts looking planned.
5 Amazon Products That Make This Project Easier
- Floating wall shelves (wood, varying lengths) – These give you clean lines without bulky brackets, perfect for a modern zone-based layout.
- L-bracket shelf brackets (heavy-duty steel) – These hold weight safely, which matters when you’re stacking dishes or cookbooks.
- Adhesive wall anchors or drywall anchors – These keep your shelves secure on drywall, even without hitting a stud every time.
- Small indoor plant pots (ceramic, 4–6 inch) – These add life and color to your greenery zone without taking up much space.
- Cookbook stand or book rack (metal, tiered) – This keeps cookbooks upright and visible, so your cookbook zone stays tidy instead of stacked flat.
Start With A Display Zone For Your Prettiest Pieces
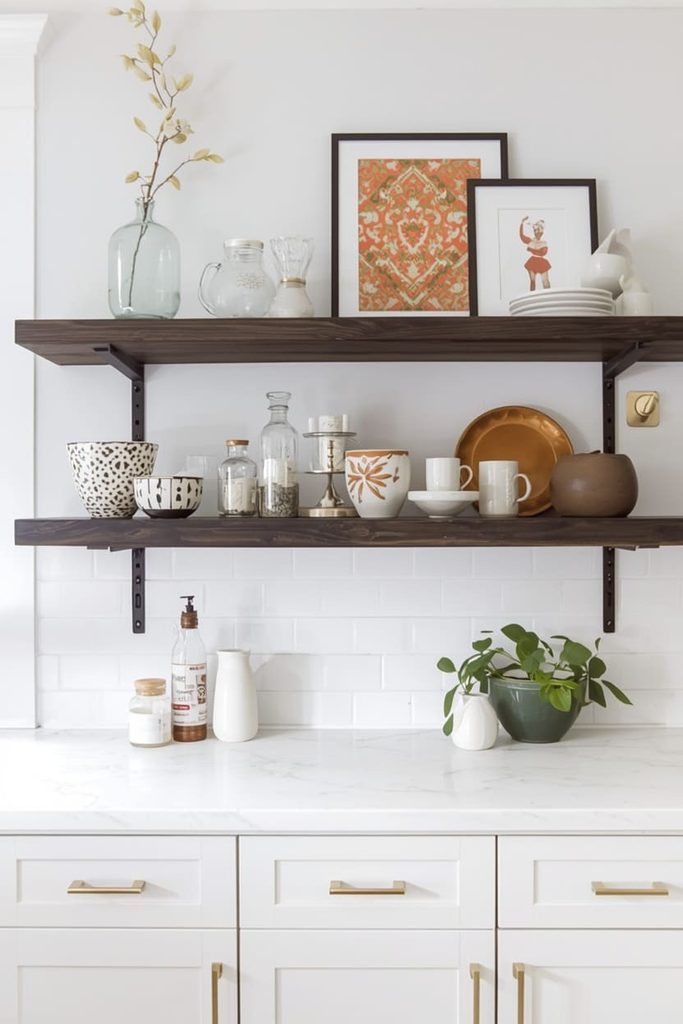
Your display zone is where your best-looking items live, front and center. Think ceramics, framed art, or a vase you actually love.
Pick the section of wall with the most light. Natural light makes ceramics and glass pop. Use one long floating shelf, about 36 to 48 inches, placed at eye level. Leave six inches of breathing room around each item. Crowded shelves look messy. Spaced-out shelves look styled.
Add one tall item, one short item, and one flat item, like a small framed print leaning against the wall. This mix creates visual rhythm. Your eye moves across the shelf instead of stopping at one spot.
Build An Everyday Zone For Mugs, Oils, And Daily Dishes
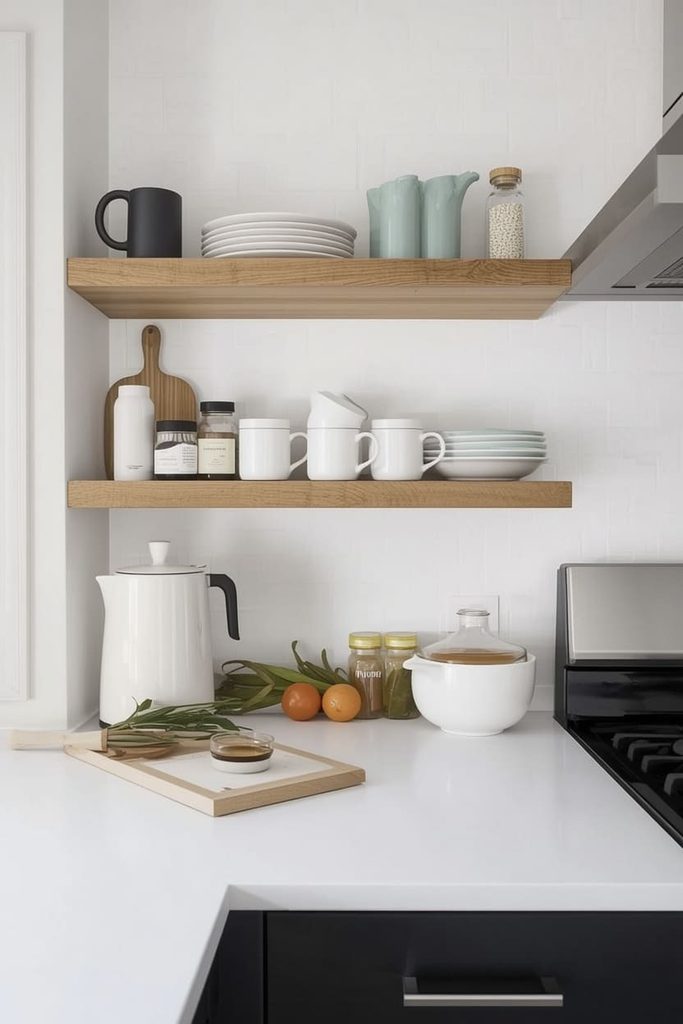
Your everyday zone holds what you touch every single day. This is different from your display zone. This zone is about function first, looks second.
Place this zone closest to your stove or counter. You want your oils and daily mugs within arm’s reach. Use two shorter shelves, stacked 10 inches apart, so you’re not stretching to grab things.
Group similar items together. All mugs on one shelf. All oils and spices on another. This isn’t just neat. It saves you time every morning when you’re half awake and need coffee fast.
Add A Cookbook And Greenery Zone To Soften The Wall
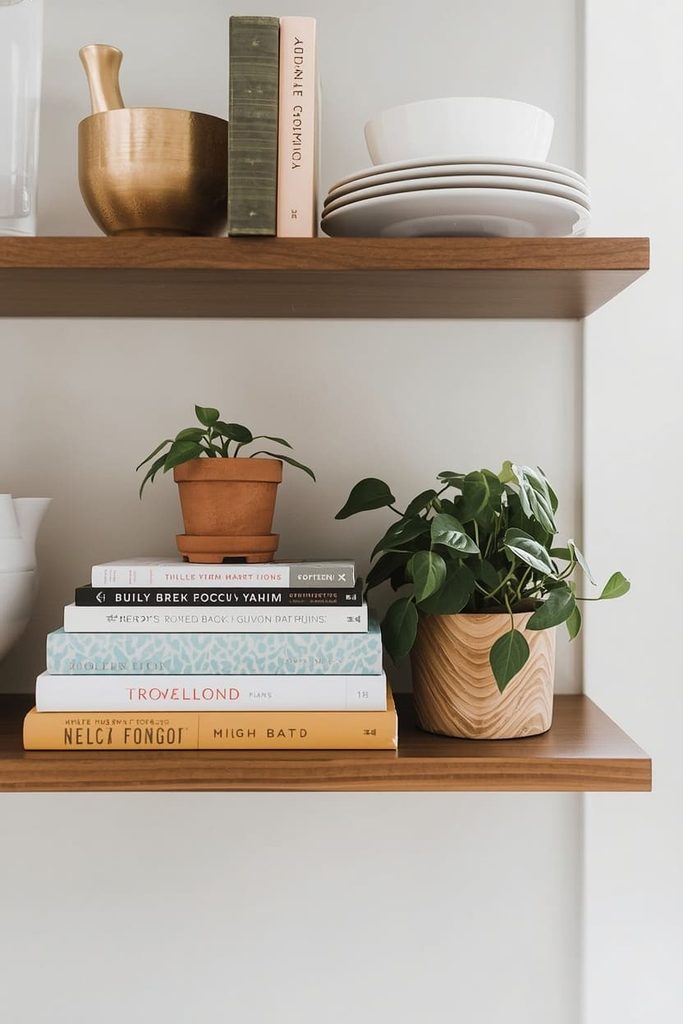
Your third zone brings warmth. This is where cookbooks and small plants live together. It breaks up the hard lines of dishware and ceramics.
Choose a deeper shelf here, at least 8 inches deep, so books don’t tip forward. Stack two or three cookbooks flat, then lean one upright against the wall. Add a small plant on the same shelf. The green color contrasts nicely with book spines.
This zone works best at the end of your wall, near a window if possible. Plants need some light to survive, even low-light varieties like pothos.
Use Varying Shelf Depths To Avoid A Flat, Boring Look
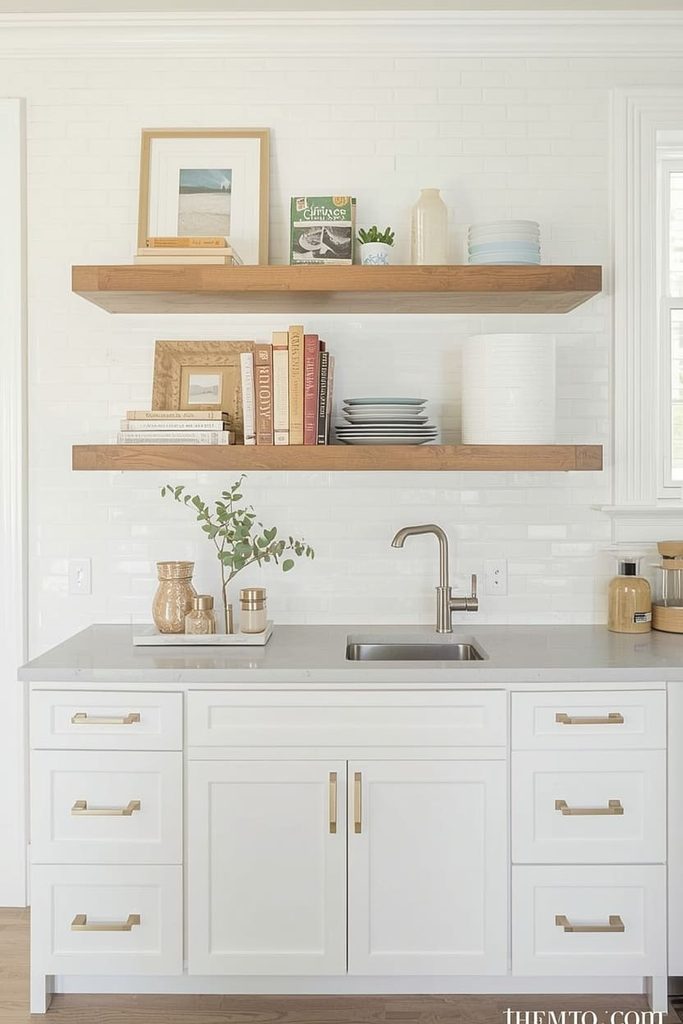
Mixing shelf depths across your wall stops the whole thing from looking like one flat plane. It adds shadow and dimension instead.
Use a 6-inch shelf for your display zone, an 8-inch shelf for your cookbook zone, and a 10-inch shelf for your everyday zone. This staggered depth creates layers when you look at the wall from across the room.
Shadows form naturally between shelves at different depths. This small trick makes a flat wall feel more like a designed feature, not an afterthought.
Install A Pegboard Section For Flexible Everyday Storage
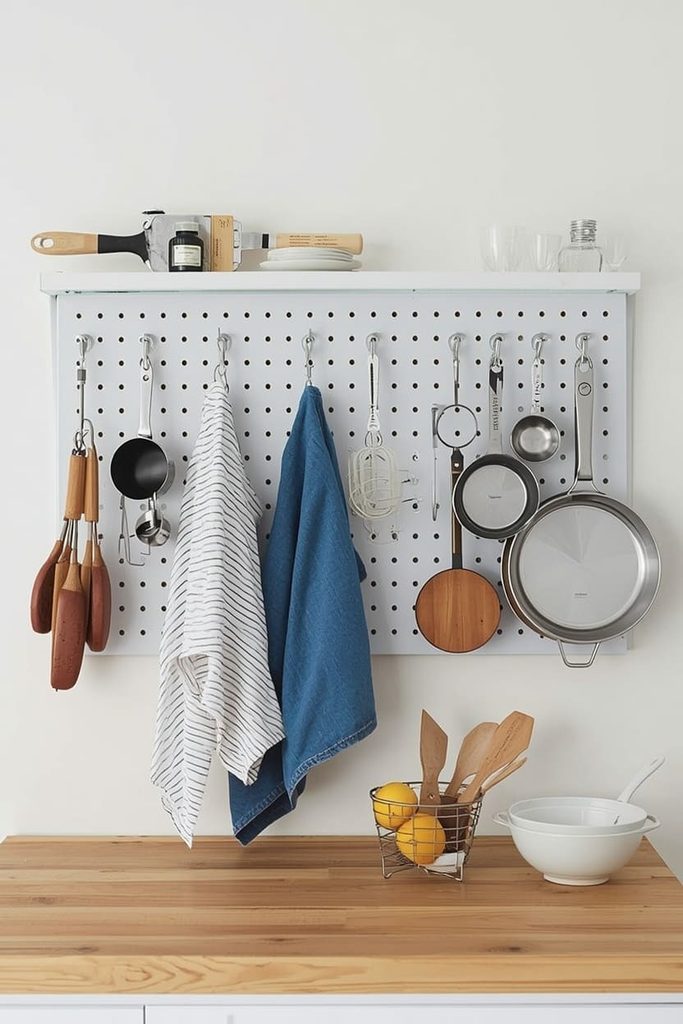
A pegboard panel gives you a shelving section you can rearrange anytime, without new holes in your wall. This works especially well inside your everyday zone.
Buy a wood or metal pegboard panel, roughly 24 by 36 inches. Mount it using four screws into wall studs. Add pegboard hooks and small shelf attachments. Hang measuring cups, oven mitts, or small pans directly on the hooks.
This setup solves a real problem. Kitchen needs change. A pegboard lets you move things without patching drywall every few months.
Create A Color-Blocked Shelf Wall For A Bold Statement
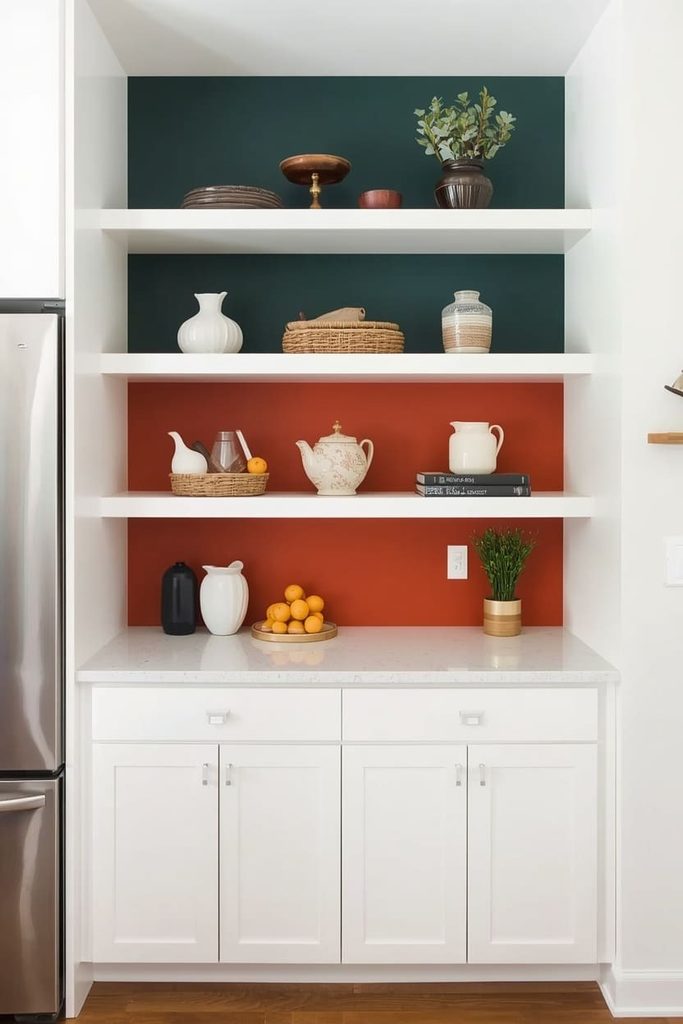
Painting the wall behind your shelves in one bold color turns plain shelving into a design feature people notice first. This works in any of your three zones, but looks strongest behind your display zone.
Pick a color that contrasts with your cabinets. If your cabinets are white, try deep green, navy, or terracotta. Paint just the section behind your shelves, not the whole wall. This creates a “frame” effect around your items.
Bold color also hides small imperfections behind shelves, like old nail holes or uneven paint from previous owners.
Mount A Mixed-Material Shelf Wall Using Wood And Metal
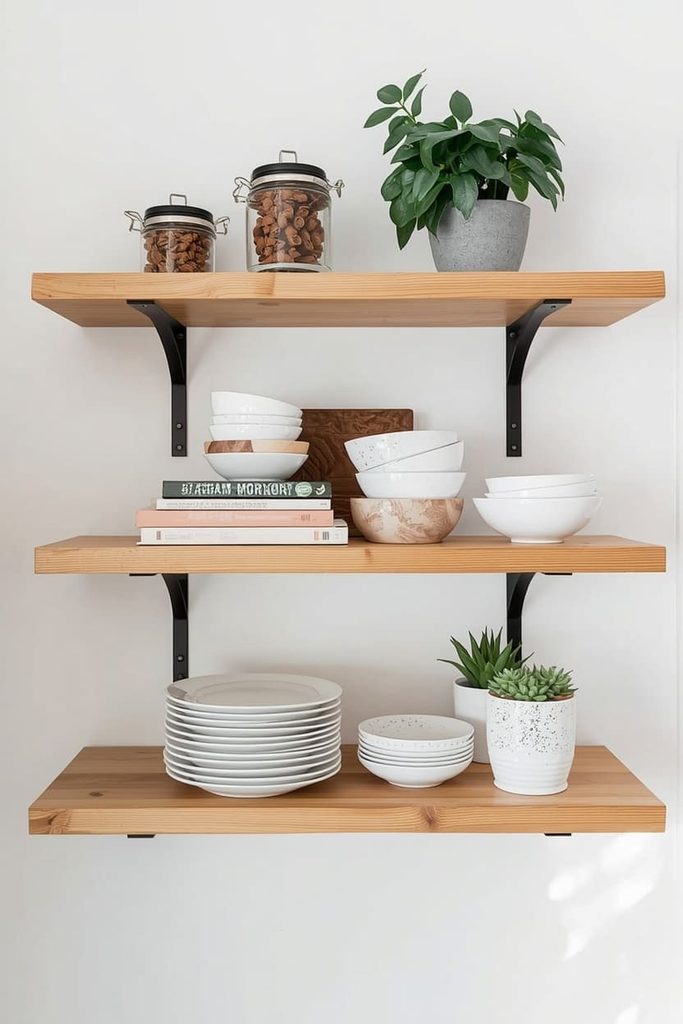
Combining wood shelves with black metal brackets adds texture without adding clutter. This is one of the simplest upgrades for renters who can’t paint or build anything permanent.
Use light wood shelves, like pine or oak, paired with black L-brackets. The wood keeps things warm. The black metal adds a modern edge. This combo works across all three zones, so your whole wall feels connected even though each section has a different job.
Renters can often find brackets that mount without heavy drilling, using strong adhesive strips instead. Check weight limits before loading heavy dishes.
Design A Corner Shelving Unit To Use Every Inch Of Wall
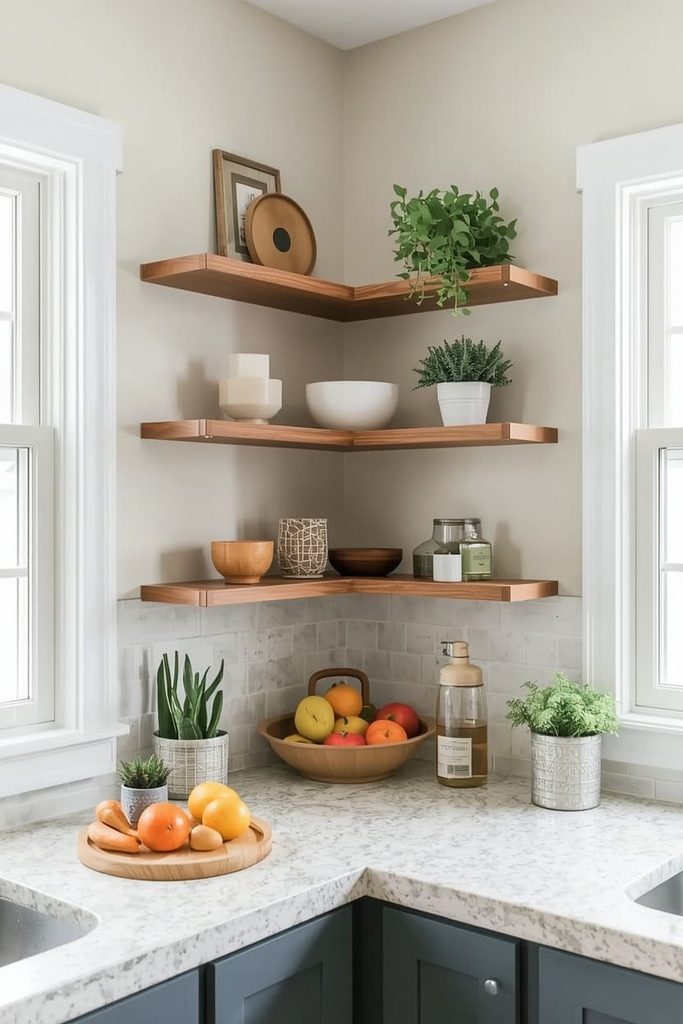
A corner shelf unit fills the awkward space where two walls meet, space most people leave completely empty. This adds storage without shrinking your usable counter space.
Measure the corner from floor to ceiling first. Use three to four corner shelves, spaced 12 inches apart. Place your greenery zone items here since corners often get filtered light from two directions.
This idea works best in kitchens where the main wall is already full. It gives you a second shelving area without touching your main design.
Frequently Asked Questions
How high should kitchen wall shelves be above the counter? Most shelves work best 15 to 18 inches above your counter. This keeps items reachable without bumping your head while cooking.
What’s the best wood for kitchen shelves near heat or steam? Sealed pine, oak, or bamboo hold up well. Avoid untreated wood near your stove, since steam can warp it over time.
How much weight can a floating shelf hold? Most floating shelves hold 15 to 50 pounds, depending on the brackets used. Heavy-duty steel brackets handle cookbooks and stacked dishes safely.
Should all three zones use the same shelf style? No. Slight differences in depth or shelf type between zones actually help separate them visually, which is the whole point of the zone system.
Can I use this zone idea in a small kitchen wall too? Yes. Shrink each zone to one shelf instead of two or three. The same display, everyday, and cookbook grouping still works on a smaller scale.
Your blank wall isn’t a problem anymore. It’s three small projects waiting for you. Pick one zone. Start there. The rest will follow.

Emily Harper is a kitchen decor expert and interior designer with a passion for creating stylish, functional spaces. As a busy mom, she understands the importance of a kitchen that works for both family life and design. With 6 years of experience, Emily specializes in transforming kitchens into inviting, practical spaces. She’s known for her ability to blend trends with everyday needs, helping families create kitchens that feel like the heart of the home.